When to use it
- A process that crosses teams, such as order to cash, hiring or content production
- Handing a process to a new owner, team or outside partner
- Audits and certifications that ask how work is controlled
- Mapping the current process before you change or automate it
Process documentation is a written description of how a business process runs from start to finish: what starts it, who takes part, what happens at each step and handoff, which systems are used, what it produces and how you know it went well. It covers the whole flow across people and teams. The detailed instructions for any one task sit a level below, in an SOP, and the process document links to them.
The filled-in example below follows one magazine's freelance commissioning process from pitch to payment and shows where responsibility changes hands. If you are documenting a software product for the people who use it, rather than a business process, the product documentation template is the better fit.
Process documentation example
Here is the template filled in for Northline, an invented monthly magazine with a website. The process starts when an editor accepts a freelance pitch and ends when the writer is paid, so it crosses editorial, legal and finance.
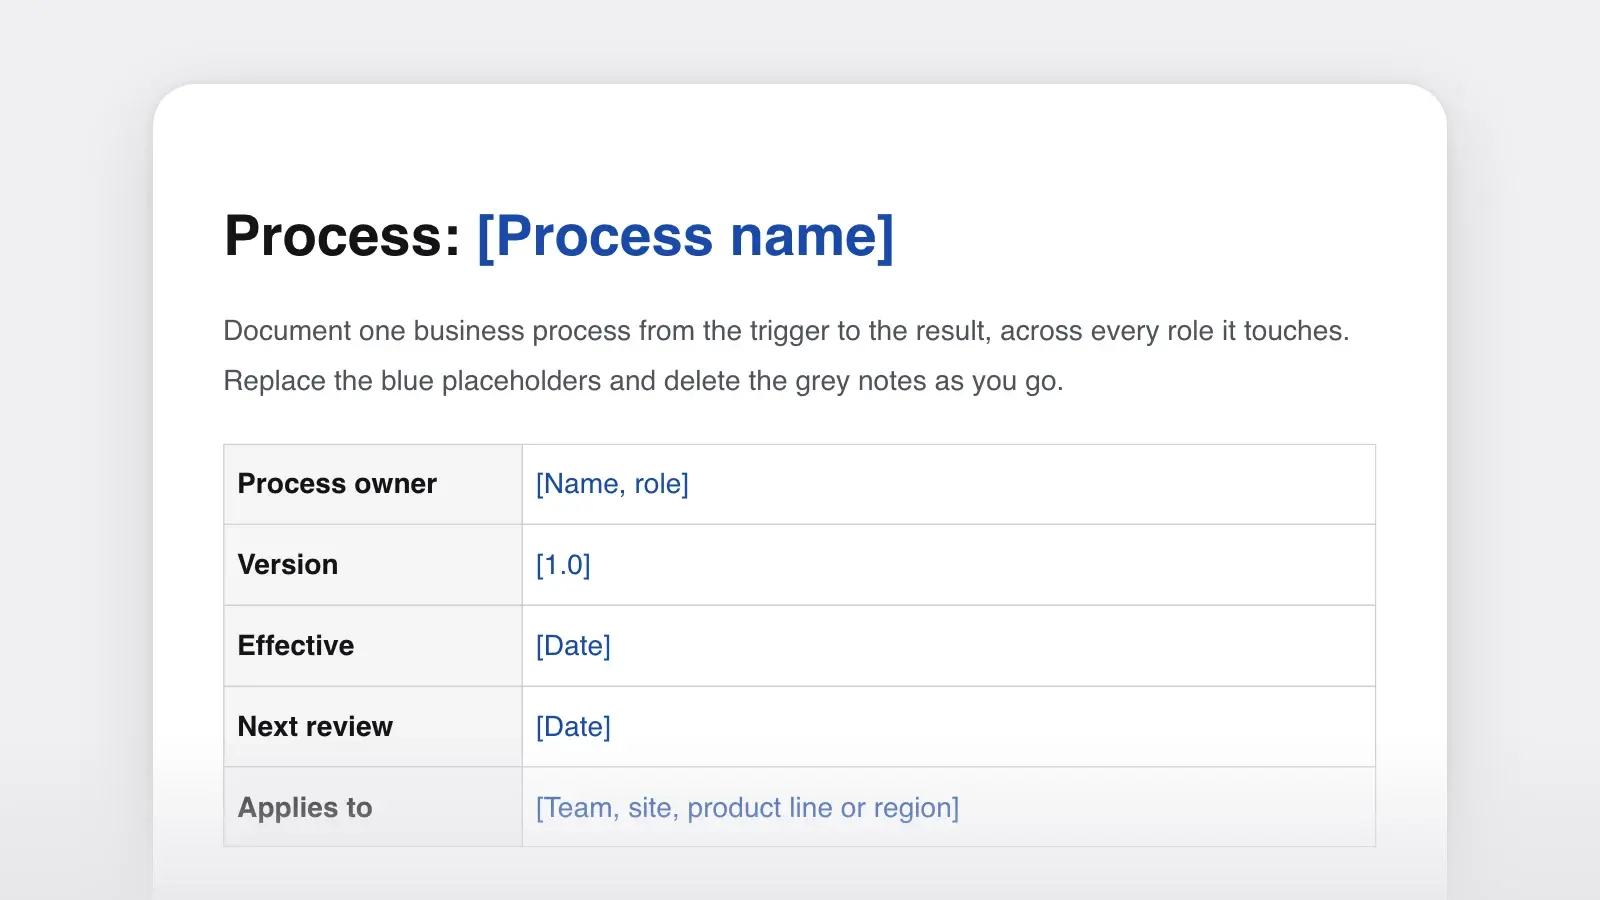
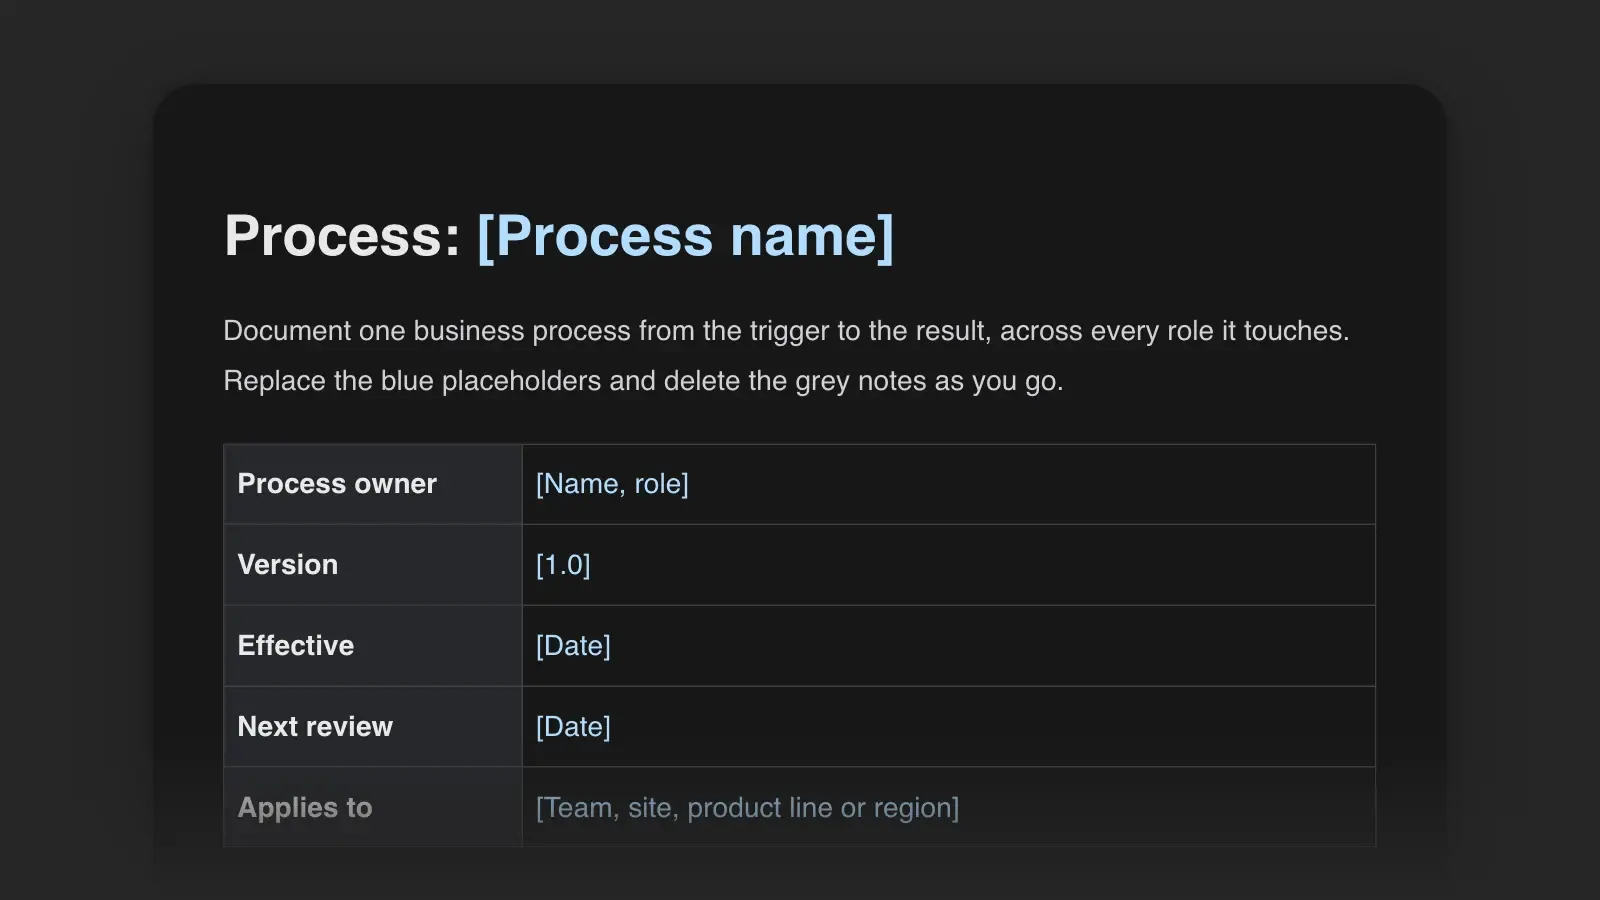
Owner: Hannah Reyes, managing editor · Version: 1.2 · Effective: 2 March 2026 · Next review: 1 September 2026
Purpose. Every commissioned piece is either published or killed with a fee, and every freelancer is paid within 30 days of a valid invoice.
Scope. Freelance features and essays for print and web. Starts when a commissioning editor accepts a pitch; ends when the writer receives the payment confirmation. Staff writers' pieces are out of scope.
Roles. Commissioning editor, writer, fact-checker, legal adviser (flagged pieces only), copy desk, finance assistant, and the managing editor, who approves contracts over $2,000 and every kill fee.
Before the steps, the document sums up the whole process on one screen. Read the table below from top to bottom: who supplies the work, what comes in, the five core steps, what comes out and who receives it. That summary is a SIPOC, named for its five rows.
| SIPOC | Commission to payment |
|---|---|
| SIPOCSuppliers | Commission to paymentFreelance writers, their sources, the legal adviser |
| SIPOCInputs | Commission to paymentPitch, signed contract, draft and source list, invoice |
| SIPOCProcess | Commission to paymentCommission → draft → edit and check → publish → pay |
| SIPOCOutputs | Commission to paymentPublished piece, source log, payment |
| SIPOCCustomers | Commission to paymentReaders, the writer, the magazine's archive |
| # | Step | Role | System or document | Output and handoff |
|---|---|---|---|---|
| #1 | StepAccept the pitch; agree fee, length and deadline | RoleCommissioning editor | System or documentEmail, fee scale | Output and handoffCommission email to the writer, copied to the managing editor |
| #2 | StepSend the contract | RoleCommissioning editor | System or documentContract template | Output and handoffSigned contract in the piece's folder |
| #3 | StepDeliver the draft | RoleWriter | System or documentThe piece's folder | Output and handoffDraft and source list, by the deadline |
| #4 | StepEdit | RoleCommissioning editor | System or documentDraft | Output and handoffEdited draft, after one round of revisions |
| #5 | StepFact-check | RoleFact-checker | System or documentSource log | Output and handoffEvery claim logged; queries back to the editor |
| #6 | StepLegal review, if flagged | RoleLegal adviser | System or documentLegal checklist | Output and handoffCleared draft or required changes |
| #7 | StepCopy edit and publish | RoleCopy desk | System or documentSOP-ED-02: Publish an article | Output and handoffLive piece; link sent to the writer |
| #8 | StepInvoice | RoleWriter | System or documentInvoice with the contract number | Output and handoffInvoice in the finance inbox; from here, finance owns the payment |
| #9 | StepPay | RoleFinance assistant | System or documentSOP-FIN-03: Pay a freelance invoice | Output and handoffPayment and a confirmation email |
Exceptions. Draft more than seven days late: the editor extends once or kills the piece. Killed after delivery: 25% kill fee, approved by the managing editor. Fact-check finds an error the writer can't fix: the piece goes back to step 4. Invoice without a contract number: finance returns it within two working days. No invoice 30 days after publication: finance tells the commissioning editor, who reminds the writer; the 30-day payment clock starts only when a valid invoice arrives.
Measures and controls. Writers paid within 30 days of a valid invoice: target 95%, reviewed monthly by the managing editor. Control: no piece reaches step 7 without a complete source log.
Change history. 1.2, 2 March 2026: fact-check and source log made mandatory for every piece, after a correction in a February feature.
Why it works. The scope says where the process starts and stops, so nobody argues about whether pitching is part of it. Every row names a role and an output, so each handoff is visible: the draft doesn't just “go to fact-checking”, it arrives in a named folder with a source list. The biggest handoff, from editorial to finance, is marked at step 8, and the late-invoice exception says who acts when that handoff doesn't happen. Publishing and paying link to their SOPs instead of copying them, and the change history explains the rule a new editor would be most tempted to drop.
How to use this template
- Name the process and draw its edges
Give it a name with a start and an end, such as “Commission to payment”, then write the trigger that starts it and the result that ends it. The American Society for Quality (ASQ) puts the same step near the start of its procedure for a SIPOC diagram: name the process and set its start and end points, so everyone means the same scope.
- Sketch five to seven big steps first
ASQ advises listing five to seven core activities in the process block of a SIPOC. Fill in the suppliers, inputs, outputs and customers around them before any detail. If the process won't fit in seven boxes, you may be documenting two.
- Follow one real case through every desk
Take one recent order, hire or article and trace it end to end. Ask each person what they received, what they did, what they passed on and how the next person found out. Handoffs are where processes break, and the two sides often describe them differently.
- Write one row per step, then link down
For each step, name the role (not the person), the system or document used and the output that moves on. Where a step needs more than a line of instruction, link its SOP instead of copying it.
- Add exceptions, measures and one owner
Write what happens when the usual path fails, the two or three numbers that show the process is healthy, and the one person who owns the document. Have each role check their rows before you publish version 1.0.
What goes in each section
| Section | What to write |
|---|---|
| SectionOverview | What to writeProcess name, owner, version, effective date and next review |
| SectionPurpose and scope | What to writeThe result the process exists for, the trigger, the end point and what is out of scope |
| SectionSIPOC | What to writeSuppliers, inputs, five to seven core steps, outputs and customers |
| SectionRoles | What to writeEach role and its job, with a RACI chart for who is accountable for what |
| SectionSteps | What to writeOne row per step: role, system or document, and the output that is handed on |
| SectionExceptions | What to writeThe forks and failures, what happens in each and who decides |
| SectionMeasures and controls | What to writeTwo or three numbers with targets and reviewers, and the checks that stop the worst failures |
| SectionRelated documents | What to writeThe policy above the process and the SOPs, forms and templates below it |
| SectionChange history | What to writeVersion, date, what changed and why |
Process documentation formats
The template combines the standard formats. Each also works alone, depending on who will read it.
SIPOC overview
ASQ describes the SIPOC diagram as a data collection tool used by Six Sigma process improvement teams, filled in before a detailed flowchart. Its extended form, SIPOC+CM, adds constraints and measures. Northline's SIPOC is in the example above: one row per letter, with five core steps in the Process row.
Swimlane table or flowchart
Give each role a lane and put each step in the lane of whoever does it. Every arrow that crosses a lane is a handoff, which is why swimlanes show so clearly where work waits. If your organization models processes in software, the notation to know is BPMN (Business Process Model and Notation), a standard maintained by the Object Management Group and also published by ISO, in its 2.0.1 version, as ISO/IEC 19510.
RACI chart
Steps down the side, roles across the top and one letter in each cell: R for responsible (does the work), A for accountable (owns the result), C for consulted (asked first) and I for informed (told after). Keep exactly one A in each row.
| Step | Editor | Writer | Fact-checker | Managing editor | Finance |
|---|---|---|---|---|---|
| StepCommission | EditorA, R | WriterC | Fact-checker– | Managing editorI | Finance– |
| StepFact-check | EditorA | WriterC | Fact-checkerR | Managing editor– | Finance– |
| StepKill a piece | EditorR | WriterI | Fact-checker– | Managing editorA | FinanceI |
| StepPay | EditorC | WriterI | Fact-checker– | Managing editorA | FinanceR |
As-is and to-be
When the point is to change a process, write two versions. The as-is records what people actually do today, workarounds included; the to-be records the process after the change. Compared row by row, they become the list of what has to change.
Process, procedure or work instruction
A process usually needs several documents beneath it. At Northline, the same work shows up at four levels:
| Level | Answers | Northline example |
|---|---|---|
| LevelPolicy | AnswersWhat must happen, and why? | Northline exampleFreelancers are paid within 30 days of a valid invoice. |
| LevelProcess | AnswersHow does the work flow, and through whom? | Northline exampleCommission to payment, above |
| LevelSOP | AnswersHow is one task done, step by step? | Northline exampleSOP-FIN-03: Pay a freelance invoice |
| LevelWork instruction | AnswersHow exactly is one step done in one tool? | Northline exampleAdd a new payee in the payments tool |
Link down, don't copy down: when the payments tool changes, only the work instruction should need an edit. For the next level down, use the SOP template, and see the SOP examples for seven procedures in different formats. If the goal is to teach a role rather than record a process, write a training manual.
Which documentation template fits?
If a business process isn't what you're documenting, one of these fits better:
| You are documenting | Template |
|---|---|
| You are documentingA system, for the engineers who build and run it | TemplateTechnical documentation template |
| You are documentingA product, for the people who use it | TemplateProduct documentation template |
| You are documentingA device or app, as one manual | TemplateUser manual template |
| You are documentingA code repository | TemplateREADME template |
| You are documentingThe first setup of a product | TemplateQuick start guide template |
| You are documentingHow to run and fix a service on call | TemplateRunbook template |
| You are documentingAn accident, near miss or outage | TemplateIncident report template |
Tips for documenting a process
- Document what happens, not what should. Write the as-is first, from the people who do the work. A process written the way the policy says it runs can't show you why it fails.
- Name roles, not people. People change jobs; roles stay. Put names in the overview and the roles list only.
- Make every handoff concrete. “Sent to finance” isn't a handoff. “The writer emails the invoice, with the contract number, to the finance inbox” is.
- Write down the waits. A list of steps hides the days between them. Note how long work sits at each handoff, and you know where to look first.
- Use one word for each thing. If finance says payee and editorial says contributor, pick one, define it and record it in a style guide.
“Use this template” opens the process document in Strokes as a document you can edit and export, with the SIPOC, RACI and step tables in place. Keep it in one project folder with the SOPs it links to, and before each new version ask the Strokes Assistant to review the folder: it points out where the process document and an SOP disagree, where a step names no role and where one thing has two names.
Frequently asked questions
What is the difference between process documentation and an SOP?
Process documentation shows how work flows across people and teams, from trigger to result, for owners, managers, auditors and newcomers. An SOP covers one task inside that process, step by step, for the person who does it. One process document usually links to several SOPs.
What is a SIPOC diagram?
SIPOC stands for suppliers, inputs, process, outputs and customers. ASQ describes it as a data collection tool used by Six Sigma process improvement teams to gather what they know about a process before drawing a flowchart. The process column holds five to seven core activities, and an extended form, SIPOC+CM, adds constraints and measures.
Who should own process documentation?
One person, usually the manager accountable for the result, such as the managing editor in the Northline example. The owner keeps the document current, sets the review date and approves changes, while each role checks its own rows. Put the owner's name and the next review date in the header, where anyone can see them.