When to use it
- A device or appliance that ships with a one-page setup sheet in the box
- The first page of a software product's docs, from sign-up to a first real result
- An API or developer tool that needs a first-call-in-five-minutes page
- Cutting a long setup chapter down to the steps every new user needs
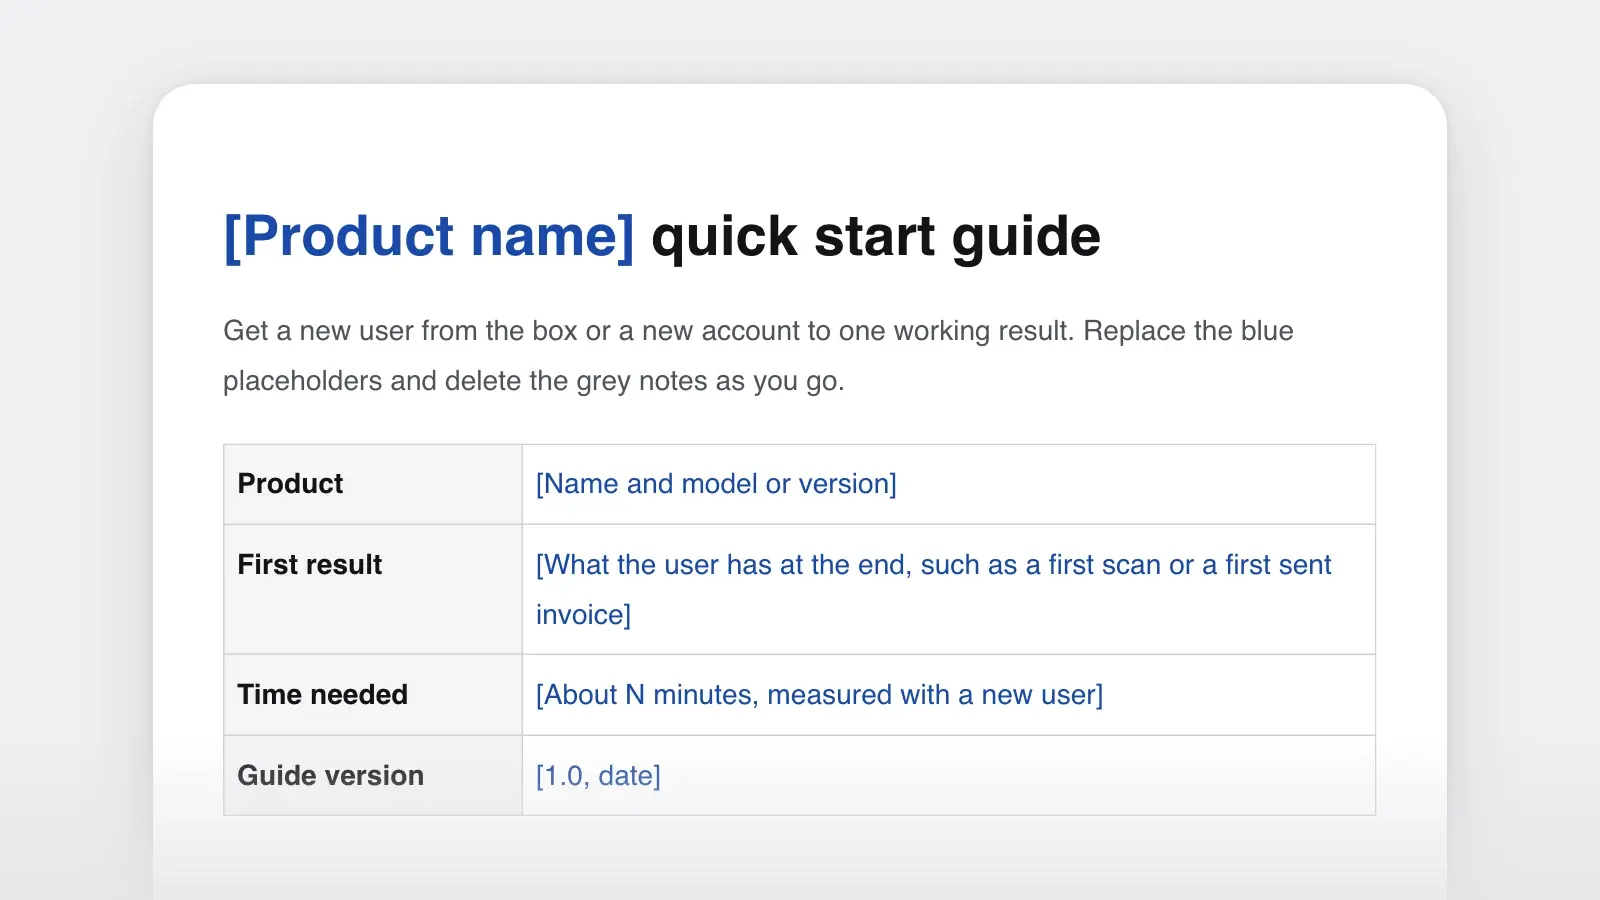
A quick start guide is a short document, usually one page or one screen, that takes a new user from opening the box or creating an account to a first working result. It lists what they need, gives a handful of numbered steps that each say what should happen, and ends with where to go next. Everything else, from settings to the features people meet in week two, stays in the user manual or the full documentation.
The scanner example below shows the whole format on one printed side; a version for a developer API follows further down. Start from the one closest to your product, then fill in the template.
Quick start guide example: hardware
The template filled in for a desktop scanner, as a sheet in the box. The first line says what the user will have at the end; everything before step 1 is something they need on the way there.
Set up your Wren D2 and scan your first page. About 10 minutes. At the end you'll have one page scanned and saved as a PDF.
In the box: scanner, USB-C cable, power adapter, white calibration sheet. You also need: a Mac or Windows computer with a free USB port. Read the safety information on page 2 of the user manual before you start.
- Remove the two strips of orange tape from the paper feeder and the lid.
- Plug the adapter into the back of the scanner and into an outlet. The light on the front turns white.
- On your computer, install Wren Scan from wren.example/start and open it. The app shows “No scanner found”.
- Connect the scanner to the computer with the USB-C cable. Within a few seconds the app shows “Wren D2 ready”.
- Feed the calibration sheet into the feeder, face down, arrow first. The scanner pulls it through and the app shows “Calibration complete”.
- Put any page face down in the feeder and press Scan on the scanner. The page appears in the app within about five seconds.
- In the app, select Save. The page is saved as a PDF in your Documents folder.
It worked if the saved page is straight and sharp.
If something goes wrong. The light blinks orange: tape is still in the feeder, or the lid is open. The app still says “No scanner found” after step 4: use another USB port, not a hub.
Next: double-sided scanning, user manual page 12.
Why it works. The title promises one result and the last step delivers it. Every step names something the user can see or press and ends with a change they can check, so a user who goes wrong finds out at the step where it happened. Calibration is in because the first scan comes out crooked without it; double-sided scanning is out, because nobody needs it to get started.
What goes in each part
| Part | What to write | Keep it to |
|---|---|---|
| PartTitle and promise | What to writeThe product and the result: “Set up your Wren D2 and scan your first page” | Keep it toOne line, plus the time it takes |
| PartBefore you start | What to writeWhat's in the box, and what else the user needs: a computer, an account, permissions | Keep it toA short list |
| PartSteps | What to writeNumbered actions, each followed by what the user should see | Keep it toThree to seven steps |
| PartCheck that it worked | What to writeThe first real result, described so the user can recognize it | Keep it toOne or two sentences |
| PartIf something goes wrong | What to writeThe two or three most common problems, each with its fix | Keep it toA small table: what you see, what to do |
| PartNext steps | What to writeThe manual, a tutorial or the task most users do next | Keep it toTwo or three links |
| PartSafety and support | What to writeWhere the safety information is, and how to get help | Keep it toTwo lines, unless your market's rules ask for more |
A quick start is defined by what it leaves out: options, background and every feature the user doesn't need today. The Diátaxis documentation framework's rule for tutorials fits it exactly: “Every step the learner follows should produce a comprehensible result, however small.”
How to use this template
- Choose the one result that counts as started
Pick the first moment the product does its job for this user: the scanner saves a page, the API returns a label. That result is the guide's title and its last step. Anything not on the way to it, such as accessories, settings or a tour of features, goes in the manual.
- Start from a new box or a new account
Unpack a fresh unit or sign up with a new email address, and write down everything you have to fetch, remove, install or allow. Each item goes under Before you start. What your own machine already has is often what new users trip over.
- Write one action and one result per step
Do each step as you write it: where the action happens, the action, then what the user should see. If a step needs two actions, split it, and keep explanations out of the steps. Past about seven steps, check whether some of them belong in the manual.
- Put the likely failures in a small table
For each step, ask what goes wrong most often, such as transport tape left in or a browser blocking a pop-up, and add it to the table at the end with its fix. After launch, support tickets tell you which rows to add.
- Time a new user, then print the time
Hand the draft to someone who has never seen the product and say nothing. Note every pause and the total time. Fix the pauses, then put the measured time in the header: “About 10 minutes” sets expectations, “Quick” doesn't.
Quick start guide example: API
For an API, the first result is a successful call, so the guide is built around one request to paste and one response to compare.
Quickstart page (a fictional shipping API)
# Quickstart: create your first shipping label

About 5 minutes. At the end you will have a test label as a PDF.

## Before you start

- A Shipfinch account (the sandbox is free at dashboard.shipfinch.example)
- curl, or another HTTP client

## 1. Copy your test key

In the dashboard, open Developers > API keys and copy the key
that starts with sk_test_. Test keys never charge you or ship
anything.

## 2. Create a label

```sh
curl https://api.shipfinch.example/v1/labels \
  -u sk_test_YOUR_KEY: \
  -d from_zip=10001 \
  -d to_zip=94103 \
  -d weight_oz=12
```

## 3. Check the response

You should see "status": "created" and a label_url:

```json
{
  "id": "lbl_test_4f2a9c",
  "status": "created",
  "label_url": "https://files.shipfinch.example/lbl_test_4f2a9c.pdf"
}
```

Open the label_url. The label has SAMPLE printed across it.

## If it doesn't work

- 401 invalid_key: the key is missing or starts with sk_live_.
  Copy the test key again.
- 422 invalid_zip: both ZIP codes need five digits.

## Next steps

- Buy real postage with a live key: docs/go-live.md
- Track a package: docs/how-to/track-a-package.md
Why it works. Before step 1 it names the two things the reader needs, an account and an HTTP client, and step 1 fetches the third, the test key. The request can be pasted as it stands, and the full response lets the reader compare theirs line by line. The test key can't cost money or ship anything, the guide says so, and the first result is something to open: a PDF with SAMPLE across it.
Quick start guide formats
The same parts fit every format. What changes is the room you have:
| Format | Best for | What changes |
|---|---|---|
| FormatPrinted sheet in the box | Best forDevices and appliances | What changesOne side; a drawing per step; the safety pointer before step 1 |
| FormatPicture-led fold-out | Best forProducts sold in many languages | What changesNumbered drawings carry the steps; words only for warnings |
| FormatGetting started page | Best forSoftware and web apps | What changesScreenshots only where a screen is busy |
| FormatDeveloper quickstart | Best forAPIs, SDKs and command-line tools | What changesCopy-paste code, the full expected output, a test key |
| FormatIn-app checklist | Best forApps with a setup flow | What changesThree to five tasks the app ticks off as the user does them |
| FormatFirst-week guide | Best forInternal tools and new staff | What changesAccounts to request and who approves them |
Quick start guide vs user manual
| Document | The reader wants | Length | Done when |
|---|---|---|---|
| DocumentQuick start guide | The reader wantsTo get it working | LengthOne page or screen | Done whenThe user has a first real result |
| DocumentUser manual | The reader wantsTo use and look after everything | LengthAs long as the product needs | Done whenEvery task, safety message and fix is covered |
Keep the setup steps identical in the quick start and the manual, and change both in the same release. The user manual template has the full structure, and in a whole docs set the quickstart is one row on the docs map in the product documentation template. A code project's quick start often lives in its README as the Installation and Usage sections.
“Use this template” opens the guide in Strokes as a document you can edit and export, and page view shows whether it still fits on one printed side. Before you print, attach the user manual to a chat with the Strokes Assistant and ask it to point out where the quick start and the manual disagree.
Tips for a working quick start
- Choose one path. If there are three ways to connect, give the one most people have. Diátaxis tells tutorial writers to ignore options and alternatives, and a quick start has even less room for them.
- Say where, then what. Google's developer documentation style guide and the Microsoft Writing Style Guide both tell writers to name the place an action happens before the action: “On the scanner, press Scan.”
- Fit it on one screen. Microsoft's style guide asks writers to try to fit all the steps of a procedure on the same screen. For a quick start, that is most of the point.
- Use the product's own words. If the button says Scan, the guide says Scan. Record the names in a short style guide so the quick start, the manual and the app never drift apart.
- Version it with the product. Print the model and the guide's version at the bottom, so a guide for the old hardware never ships in the new box.
Frequently asked questions
How long should a quick start guide be?
One printed page or one screen for most products, and often five to fifteen minutes for the reader. If it needs more than seven steps, look for steps that belong in the manual, such as settings, accessories and optional features, and move them there.
Is it quickstart or quick start?
Both forms are in use. Software documentation often writes quickstart as one word when it names a documentation type: Google's developer documentation style guide, for example, accepts this quickstart alongside this tutorial and this codelab. Outside a docs site, the three-word form reads more naturally on a printed sheet. Pick one form, put it in your style guide and use it everywhere.
What is the difference between a quick start guide and a getting started guide?
Often nothing: many products use the two names for the same page. When a product has both, the quick start is the shortest path to one result, and the getting started guide goes further, adding the first tasks a new user needs after setup, such as inviting a team or importing data.