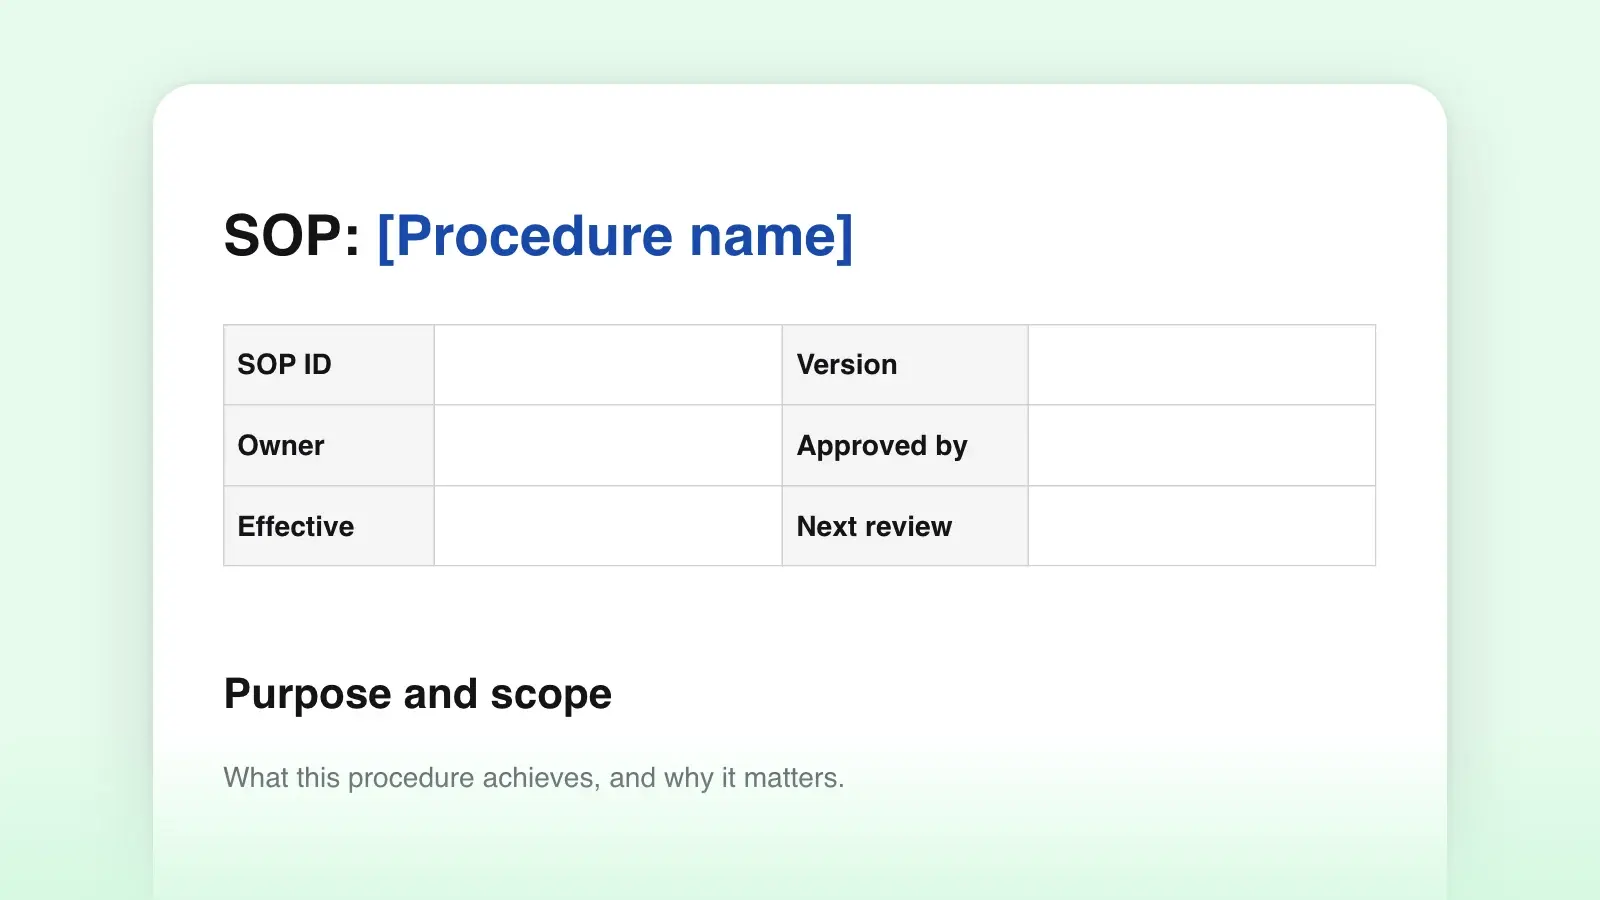
A standard operating procedure (SOP) is a written, step-by-step description of how a routine task is done, so that anyone trained on it does the task the same way every time. The seven SOP examples below come from different fields and use different formats: numbered steps, a hierarchy, a checklist, decision steps and a time-based sequence. Each has the same frame (purpose, scope, roles, steps, exceptions and a revision line), and each is followed by notes on why it works.
This page is for choosing a format: find the task in the table that looks most like yours, then read that example in full. The examples are original and the organizations in them are invented, but every one is complete enough to adapt. To start your own from a blank page, use the SOP template, which has the same sections ready to fill in.
| Example | Format | Best for |
|---|---|---|
| ExamplePublishing an article | FormatNumbered steps with checks | Best forA fixed sequence done by one person |
| ExampleReceiving a shipment | FormatHierarchical: steps and sub-steps | Best forLong jobs where experienced staff skim and new staff read everything |
| ExampleClosing a restaurant | FormatChecklist by role | Best forRoutine work people already know how to do |
| ExampleHandling a refund request | FormatDecision steps (a flowchart in a table) | Best forTasks where the path depends on the answers |
| ExampleOffboarding an employee | FormatTime-based phases | Best forTasks spread over days, with several teams |
| ExampleChecking a printed proof | FormatInspection with acceptance criteria | Best forQuality checks where the pass or fail rule is set in advance |
| ExampleHanding over on-call | FormatStep list with an explicit handoff | Best forShift changes and handovers between people |
The parts every SOP shares
Formats differ, but a working SOP answers the same questions in the same order. These are the parts each example below uses:
- Header. An ID, the title as a task (“Publish an article”, not “Publishing”), an owner, a version and an effective date.
- Purpose. The result the procedure produces, written so you could check it afterwards.
- Scope. What the SOP covers and, just as important, what it doesn't, with a pointer to the procedure that does.
- Roles. Who does the steps, who approves exceptions and who is told when something goes wrong.
- Trigger and materials. The event that starts the procedure, and what must be at hand before step 1.
- Procedure. Numbered steps, one action each, most with a check that says how you know it worked.
- Exceptions. The things that really go wrong, and what to do about each.
- Revision history. What changed, when, by whom and why.
Step-by-step SOP: publishing an article
The simplest format: numbered steps in the order they happen, each ending in a check. It suits a task one person does from start to finish, here a web producer putting an approved article live.
Owner: Managing editor (Priya Shah) · Version: 2.1 · Effective: 3 March 2026 · Review by: 3 September 2026
Purpose. Every approved article goes live within one working day of approval, with the approved headline, working links, image credits and alt text.
Scope. News articles and opinion pieces on the main site. Newsletters follow SOP-ED-07; sponsored posts follow SOP-COM-02.
Roles. Writer: supplies final copy, images and credits. Editor: approves the copy. Web producer: follows this SOP.
Trigger. The article's card moves to “Approved” in the editorial calendar. You need: editor access to the CMS and the article folder with images and credits.
- Open the draft from the card. Check: the first line reads “Approved by [editor], [date]”.
- Create a new post in the CMS and paste the body as plain text, then reapply headings and links. Check: the preview shows the site's own fonts, with nothing carried over from the draft.
- Paste the headline and the standfirst exactly as approved. Check: the headline counter shows 70 characters or fewer.
- Set one category and up to three tags from the approved list. Check: no new tag was created.
- Upload each image, add its credit line and write its alt text. Check: no image has an empty alt field.
- Click every link in the preview. Check: each one opens the intended page.
- Write the SEO title and meta description from the editor's notes. Check: the search preview shows no cut-off text.
- Schedule the post for the time on the card, or publish now if the card says “ASAP”. Check: the CMS shows “Scheduled” with the right date and time zone.
- Post the live link in the #published channel and move the card to “Published”. Check: the link opens the article in a private browser window.
If something goes wrong. A link is dead: ask the writer for a replacement; don't publish around it. The headline is over the limit: send it back to the editor; the web producer doesn't rewrite headlines. An image has no credit: leave it out unless the editor approves in writing.
Revision history. 2.1, 3 March 2026, Priya Shah: added the private-window check to step 9 after two posts went live visible only to logged-in staff.
Why it works. Every step is one action, and every check is something the producer can see on the screen, so a mistake surfaces at the step that made it. The scope names the two procedures this one doesn't cover, which stops a producer from using it for a newsletter. The exceptions settle who decides (the producer never rewrites a headline), and the revision line explains why step 9 has its check, which makes it much less likely that someone deletes it as fussy.
Hierarchical SOP: receiving a shipment
When a job has many small actions, group them under a few main steps. An experienced receiver reads the five bold lines; a new one follows every sub-step. Numbering like 3.2 also lets people refer to a step precisely.
Owner: Warehouse lead · Version: 1.4 · Effective: 12 January 2026
Purpose. Every delivery is checked against its purchase order, damage is recorded before the carrier leaves, and the stock is in the system the same day.
Scope. Pallet and carton deliveries at Dock 2. Customer returns follow SOP-WH-05.
Roles. Receiver: does the steps. Warehouse lead: approves exceptions. Purchasing: resolves differences with the supplier.
You need: a handheld scanner, the receiving log, red damage tags and a phone camera.
1. Check the delivery in
1.1 Match the carrier's bill of lading to an open purchase order in the system.
1.2 Count the pallets or cartons against the bill of lading before you sign anything.
1.3 Look for visible damage: crushed corners, wet cartons, torn wrap.
1.4 Write any shortage or damage on the bill of lading (“2 cartons short”, “1 pallet wet, refused”), photograph it, then sign.
2. Unload and stage
2.1 Unload into the receiving lane marked with the last four digits of the purchase order.
2.2 Leave refused goods on the carrier's truck.
3. Check the contents
3.1 Open each carton and scan every item; count and type in quantities for items without a barcode.
3.2 Compare the received quantities with the order. Check: the scanner shows “Matched” or lists the differences.
3.3 Put a red tag on damaged items and move them to the hold shelf.
4. Record and put away
4.1 Post the receipt in the system. Check: the order's status changes to “Received” or “Partially received”.
4.2 Put the stock in the locations the system suggests and scan each location label.
4.3 File the signed bill of lading in today's receiving folder.
5. Close out
5.1 Email Purchasing every shortage, overage and damaged item, with the photos, before the end of your shift.
5.2 Sign the receiving log and write the time.
If something goes wrong. No open purchase order: don't unload; call Purchasing. The driver won't wait for a count: write “received unchecked” beside your signature and tell the lead. A carton carries a hazard label you don't recognize: don't open it; call the lead.
Revision history. 1.4, 12 January 2026: added step 1.4 after a damage claim was refused because the bill of lading had been signed without a note.
Why it works. The step that protects money (writing damage on the paperwork before signing) is spelled out as its own sub-step, and the revision line says what it cost the one time it was skipped. Materials are listed before step 1, so nobody walks back to the office for damage tags with a driver waiting. And each exception tells the receiver exactly where their authority ends.
Checklist SOP: closing a restaurant
A checklist works when the people doing the task already know how and need a reminder of what, not a lesson in how. Group the items by role, so “someone” never means no one.
Owner: General manager · Version: 3.0 · Effective: 1 June 2026
Purpose. By 11:30 p.m. the restaurant is clean, food is stored safely, cash is in the safe, the building is locked and the closing log is signed.
Scope. The nightly close, Tuesday to Sunday. Holiday closures add the deep-clean list in SOP-FOH-08.
Roles. Closing cook: kitchen and dish. Closing server: dining room. Manager on duty: final walk and sign-off. Tick each item as you finish it; the manager signs only after walking every station.
Kitchen (closing cook)
- Wrap, label and date every container going into the walk-in.
- Read the walk-in thermometer and write the temperature on the log. It must be at or below the limit printed on the log sheet, set to keep cold food at or below 41°F (5°C), the FDA Food Code limit; follow your local code.
- Empty and clean the fryer baskets and the grill grease tray.
- Turn off the grill, fryers and ovens, and check that every dial is at Off.
- Sweep and mop the line; take out the trash and the cardboard.
Dish (closing cook)
- Run the last load and leave the machine door open to dry.
- Test the sanitizer at the three-compartment sink with a strip and log the result.
Dining room (closing server)
- Wipe and sanitize tables, chairs and menus.
- Restock napkins, condiments and to-go boxes for the opening shift.
- Print the end-of-day sales report and hand it to the manager.
Final walk (manager on duty)
- Count the cash drawer with a second person present and drop it in the safe.
- Check every door: back door, walk-in, office. Set the alarm.
- Sign the log and write the time.
If something goes wrong. The walk-in reads above the limit: move the food to the reach-in fridges and call the general manager before anyone leaves. A station isn't finished by 11:15 p.m.: tell the manager on duty, who reassigns it. Nobody leaves a station half closed.
Revision history. 3.0, 1 June 2026: split one long list into roles after items were skipped because each person assumed someone else had them.
Why it works. Every item names an object and an action, so it can be ticked honestly. The two safety readings, the walk-in temperature and the sanitizer strip, are logged rather than just checked. The sign-off comes after a walk, not after a glance at the ticks. And the revision line records the real failure behind the format: a shared list with no owners.
Decision-step SOP: handling refund requests
When the right action depends on the answers (how old the order is, how much it costs, whether the item is faulty), a straight list breaks. Write the procedure as numbered questions, each with a yes path and a no path. It is a flowchart in a form you can search, paste into a help desk and update without redrawing anything.
Owner: Head of support · Version: 1.2 · Effective: 15 April 2026
Purpose. Every refund request gets a decision within one business day, and every customer gets the same decision for the same facts.
Scope. Orders from the online store. Wholesale accounts follow the terms in their contracts.
Roles. Support agent: decides within this SOP. Support lead: approves anything above the agent's limit. Finance: handles chargebacks.
Trigger. A ticket tagged “refund” arrives in the support queue. Follow the table below from step 1.
If something goes wrong. The customer has already opened a chargeback with their bank: don't refund (they would be paid twice); forward the ticket to Finance. The customer is abusive: stop replying and hand the ticket to the lead.
Revision history. 1.2, 15 April 2026: added the “pause” in step 1 after two refunds went to orders nobody could find.
| Step | Question or action | If yes | If no |
|---|---|---|---|
| Step1 | Question or actionFind the order by email or order number. Is it there? | If yesGo to 2 | If noAsk for the order number or receipt and pause the ticket |
| Step2 | Question or actionWas it delivered within the last 30 days? | If yesGo to 3 | If noGo to 7 |
| Step3 | Question or actionIs the item unused in its packaging, or faulty? | If yesGo to 4 | If noOffer store credit, then go to 8 |
| Step4 | Question or actionIs the refund $200 or less? | If yesRefund to the original payment method, then go to 8 | If noGo to 5 |
| Step5 | Question or actionAsk the lead to approve in the ticket. Approved? | If yesRefund, then go to 8 | If noGo to 6 |
| Step6 | Question or actionReply with the lead's reason and offer store credit. | If yesGo to 8 | If no— |
| Step7 | Question or actionOlder than 30 days. Is the item faulty? | If yesGo to 5 | If noDecline politely with a link to the policy, then go to 8 |
| Step8 | Question or actionSend the reply template for this outcome, tag the ticket and close it. | If yesDone | If no— |
Why it works. Agents never have to interpret the policy: every question has two answers and each answer has a next step. The money limit (step 4) is written as a number, not “a large amount”. Every path ends at the same closing step, so reporting stays consistent. And when the policy changes from 30 days to 60, one cell changes.
IT SOP: offboarding an employee
Some procedures happen over several days and involve several teams. Group the steps by when they happen, and name the input that starts everything (here, a ticket from HR).
Owner: IT manager · Version: 2.0 · Effective: 10 February 2026
Purpose. A departing employee loses access to every company system at the end of their last working day, their files stay with the company, and every device comes back.
Scope. Employees and contractors with a company account. Leaves of absence follow SOP-IT-08.
Roles. HR: opens the ticket and sets the date. Manager: names who takes over files and accounts. IT: follows this SOP.
Trigger. HR opens an offboarding ticket with the last working day, the time and the time zone.
Before the last day
- Confirm the date and time in the ticket with HR. Check: the ticket shows a date, a time and a time zone.
- Ask the manager who takes over the person's files, shared drives and any accounts they own. Check: a name is in the ticket.
- Export the person's access from the identity system and the app list: email, chat, code hosting, finance tools, password manager shares. Check: the list is attached to the ticket.
At the end of the last working day
- Suspend the account in the identity system. Check: a test sign-in fails.
- Sign the person out of every session and revoke their app passwords and access tokens. Check: the session list is empty.
- Remove them from shared vaults in the password manager and change every shared password they could see. Check: they are gone from each vault's member list.
- Set an automatic reply and forward email to the manager for 30 days, if HR approves.
- Collect the laptop, phone, badge and keys, and check them against the asset register. Check: each serial number is marked “Returned”.
After the last day
- Transfer file ownership to the person the manager named, then remove the licenses. Check: the new owner can open the files.
- Wipe and reimage returned devices after 30 days, unless HR asks you to keep them.
- Attach the completed access list to the ticket and close it.
If something goes wrong. An involuntary departure: HR gives a time, and steps 4–6 happen at that time, not at the end of the day. A device isn't returned within five working days: tell HR, and lock the device remotely if your device-management tool allows it.
Revision history. 2.0, 10 February 2026: added step 6 after a shared password still worked a month after a contractor left.
Why it works. Grouping by time tells IT what can be done early and what must wait. Every check can be proved later (a failed test sign-in, an empty session list), which matters if anyone asks after an audit or a dispute. The exception for involuntary departures changes when steps happen, not which steps, so there is still one procedure. Numbering runs on across the phases, so “step 6” means one thing.
Quality-control SOP: checking a printed proof
A quality-control SOP is an inspection: what to check, how to check it, and the rule for passing or failing, decided before anyone is under deadline pressure. This one comes from a small publisher approving a print run.
Owner: Production editor · Version: 1.1 · Effective: 20 May 2026
Purpose. No print run is approved until a physical proof matches the approved files on everything that can't be fixed after printing.
Scope. Printed books and booklets from outside printers. Ebooks follow SOP-PR-06.
Roles. Production editor: inspects and decides. Designer: corrects the files. Printer's contact: sends proofs and reprints them.
You need: the approved interior and cover PDFs, the printer's specification sheet, a ruler and the proof-check form.
- Measure the trim size and compare the paper, binding and page count with the specification sheet.
- Check the cover: title, subtitle and author name exactly as in the approved file; spine text centered and readable; barcode present.
- Turn every page. Page numbers run in order, and blank pages appear only where the file has them.
- Check the inner margin on ten pages from the front, middle and back: no text runs into the binding.
- Compare three images with the approved PDF on screen for color, sharpness and cropping.
- Check the copyright page and the ISBN against the publishing record.
- Mark the form Approve, Approve with notes or Reject, with a page number for every defect.
- Send the form to the printer and the designer the same day.
Acceptance rule. Reject the proof for any of these: wrong trim size, a misspelled title or author name, missing or misordered pages, text in the binding, a wrong ISBN. Approve with notes for small issues the printer can correct on the run, such as a slight color shift in one image.
Revision history. 1.1, 20 May 2026: added step 6 after a reprint caused by an ISBN from an earlier edition.
Why it works. The acceptance rule is written before the proof arrives, so a tired editor doesn't talk themselves into approving a defect because the launch date is close. The sample is defined (ten pages, three images), which makes the check repeatable. And every defect is recorded with a page number, so the printer can act on the form without a phone call.
Handoff SOP: passing on-call between shifts
Handoffs fail in the gap between two people, so the procedure must say exactly when responsibility moves. This one is for a remote team that passes the pager between time zones twice a day.
Owner: Engineering manager, platform team · Version: 1.3 · Effective: 4 August 2026
Purpose. The incoming on-call engineer starts the shift knowing every open incident, every silenced alert and every risky change, without having to call the person who just went off shift.
Scope. The two daily handoffs, at 07:00 and 19:00 UTC. Handoffs during a major incident follow the incident procedure.
Roles. Outgoing engineer: writes the handoff note. Incoming engineer: reads it and takes the pager.
- Thirty minutes before the end of your shift, open today's handoff document and copy the empty handoff section.
- List open incidents: link, current status, next action and who is waiting on whom.
- List silenced or acknowledged alerts, each with the reason and the time the silence ends.
- List changes in flight (deploys, migrations, feature flags), each with the rollback link from the runbook.
- Note anything odd you noticed that isn't an incident yet.
- Post the link in the on-call channel and tag the incoming engineer.
- Incoming: read the note, ask questions in the thread, then take the pager in the scheduling tool. Check: the schedule shows you as on-call.
- Incoming: reply “I have the pager” in the thread. The handoff is complete when that reply exists, not before.
If something goes wrong. An incident is active at handoff time: hand over on a short call, not by note alone, and the outgoing engineer stays until the incident lead releases them. No reply within 15 minutes: the outgoing engineer keeps the pager and calls the secondary on-call.
Revision history. 1.3, 4 August 2026: made the reply in step 8 the official handoff after a page went unanswered for 20 minutes between shifts.
Why it works. Responsibility moves at a visible moment, a reply in a thread, so there is never a minute when two people think the other one has the pager. The note is written, which suits people who never overlap in working hours, and every silenced alert carries an end time. The detailed fixes stay in the service's runbook; the SOP only links to them.
One condition, two formats
Conditions can live in either format. In the receiving SOP above, a delivery with no open purchase order is handled under exceptions. Written into the procedure itself, the same instruction looks like this as a hierarchy and as decision steps:
As a sub-step in a hierarchy
- 1.1 Match the carrier's bill of lading to an open purchase order in the system.
- 1.2 If there is no open purchase order, don't unload. Call Purchasing and wait for an order number.
- 1.3 Count the pallets or cartons against the bill of lading before you sign anything.
As decision steps
- 1. Does the bill of lading match an open purchase order? Yes: go to 2. No: go to 9.
- 2. Count the pallets or cartons against the bill of lading before you sign anything.
- 9. Don't unload. Call Purchasing; when they give you an order number, go back to 1.
The hierarchy keeps the condition inside the step it interrupts. Most deliveries have an order, so the receiver reads the line, finds the order and carries on; the exception costs one sentence. Decision steps make the question itself the step, which pays off when the answers send many cases down different paths and the questions stack up, as in the refund SOP, where the order's age, the item's condition and the amount each change what the agent does next. A workable test: if most cases take the same path and the condition is an exception, write it into the hierarchy; if two or more questions decide where each case goes, use decision steps.
If a numbered list in your draft keeps growing “if” clauses, you can select it in Strokes, press ⌘K and ask the Strokes Assistant to rewrite it as a decision table with yes and no columns, then check that every path ends at the closing step.
SOP vs work instruction, policy and runbook
These words get used loosely, and mixing them up is how an SOP ends up either too vague to follow or fifty pages long. The difference is the question each document answers:
| Document | Answers | Covers | Example |
|---|---|---|---|
| DocumentPolicy | AnswersWhat must happen, and why? | CoversA rule for the whole organization | Example“Refunds are offered within 30 days of delivery.” |
| DocumentSOP | AnswersHow is this task done, by whom, in what order? | CoversOne repeatable task, from trigger to record | ExampleThe refund SOP above |
| DocumentWork instruction | AnswersHow exactly is this one step done here? | CoversOne step, at one station or in one tool | Example“Printing labels at Dock 2” |
| DocumentChecklist | AnswersDid we do everything? | CoversA reminder for people already trained | ExampleThe closing SOP above |
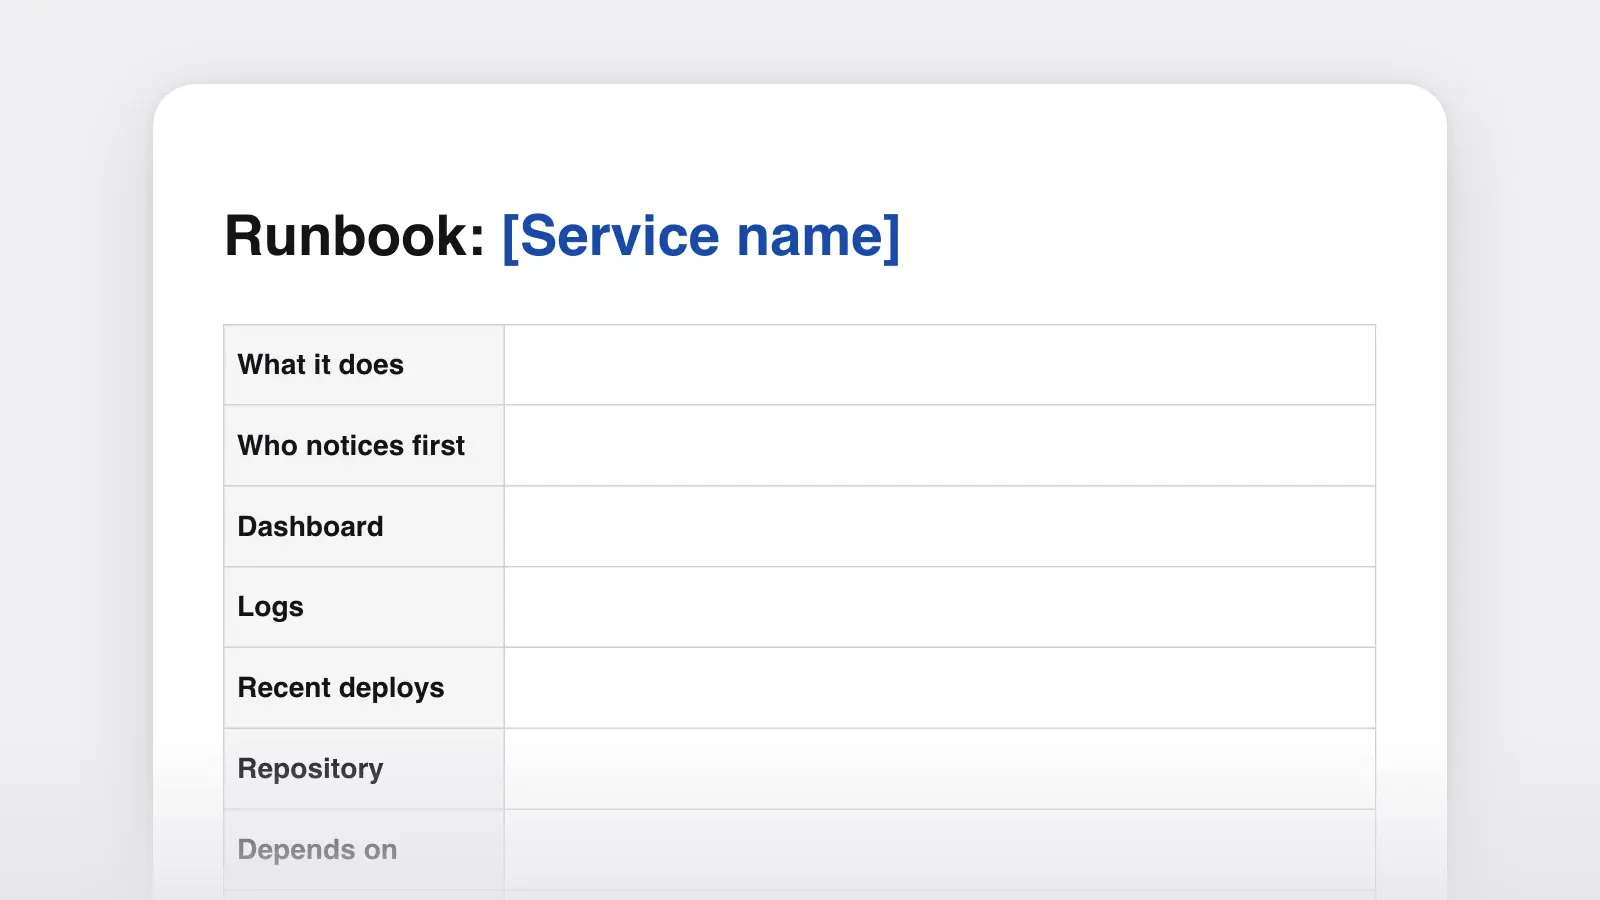
| DocumentRunbook | AnswersHow do I operate and fix this system? | CoversOne service: alerts, routine tasks, recovery | ExampleWhat the handoff note links to |
In quality management the documents are often drawn as a pyramid: policies at the top, procedures below them, work instructions below those, and forms and records at the base. The practical rule is to link down, not copy down. An SOP step that needs a page of detail points to a work instruction, the way step 4 of the handoff SOP points to the runbook. The runbook template also covers how runbooks differ from playbooks and postmortems, and when the goal is to teach the task rather than record it, a training manual is the better document.
What makes an SOP usable
Across the seven examples, the same habits do most of the work:
- Name the trigger. Each SOP starts from an event: a card moves to Approved, a truck backs up to the dock, HR opens a ticket. Without a trigger, people don't know when the procedure applies.
- One action, one check. If a step has an “and” in it, it is probably two steps. If a reader can't tell whether it worked, add what they should see.
- Warn before the step, not after it. “Write damage on the paperwork before you sign” has to come before the signature. Put conditions first, too: “For an involuntary departure, …”.
- Say who decides. Several of the failures these examples guard against are failures of authority: the agent who refunds too much, the producer who rewrites a headline. Put limits in numbers and names.
- Exceptions particular to the task. Each exceptions section names what goes wrong in that job, such as a driver who won't wait for a count or a chargeback already open, not a generic “contact your manager”.
- Keep it short. All seven examples fit in fifteen steps or fewer. A procedure that runs to forty steps is often two procedures; check whether it has two triggers or two owners.
- Use the same words everywhere. If the system says “ticket”, don't switch to “case” halfway through. A short style guide keeps a whole SOP library consistent.
- Explain every change. A revision line that says why a step exists makes the next editor much less likely to delete it.
Frequently asked questions
What is the difference between an SOP and a work instruction?
An SOP describes a whole task: who does it, in what order and what the result should be. A work instruction zooms into one step and explains exactly how to do it at a particular station or in a particular tool. An SOP step can link to a work instruction when it needs that much detail.
Can a checklist be an SOP?
Yes, when the people doing the task already know how to do each item and need a reminder of what, not a lesson in how. The closing SOP above is one: it still has a purpose, scope, roles, exceptions and a revision line around the list. What a checklist can't do is teach a newcomer, so pair it with training or a work instruction for anyone new to the task.
Should an SOP be a flowchart or a table?
Either can work when the path branches. A drawn flowchart shows the shape of the decisions at a glance, which helps in training. A decision table, like the refund SOP above, can be searched, pasted into a help desk and changed one cell at a time. To keep both in step, make the table the controlled procedure and redraw the flowchart from it whenever the table changes.
How often should SOPs be reviewed?
Set a review date when you issue each SOP, often once a year, and review it sooner whenever the tools, the team or the process changes, or after an incident shows a step was wrong. Some regulated industries set their own review rules, so check the requirements that apply to you.