When to use it
- Screen-recorded software tutorials for a help center or knowledge base
- Onboarding videos that walk a new user through their first task
- Course lessons that mix slides, a talking head and a live demo
- Product how-to videos with hands on camera: setup, cleaning, repairs
- Short tip videos for social channels, cut from a longer tutorial
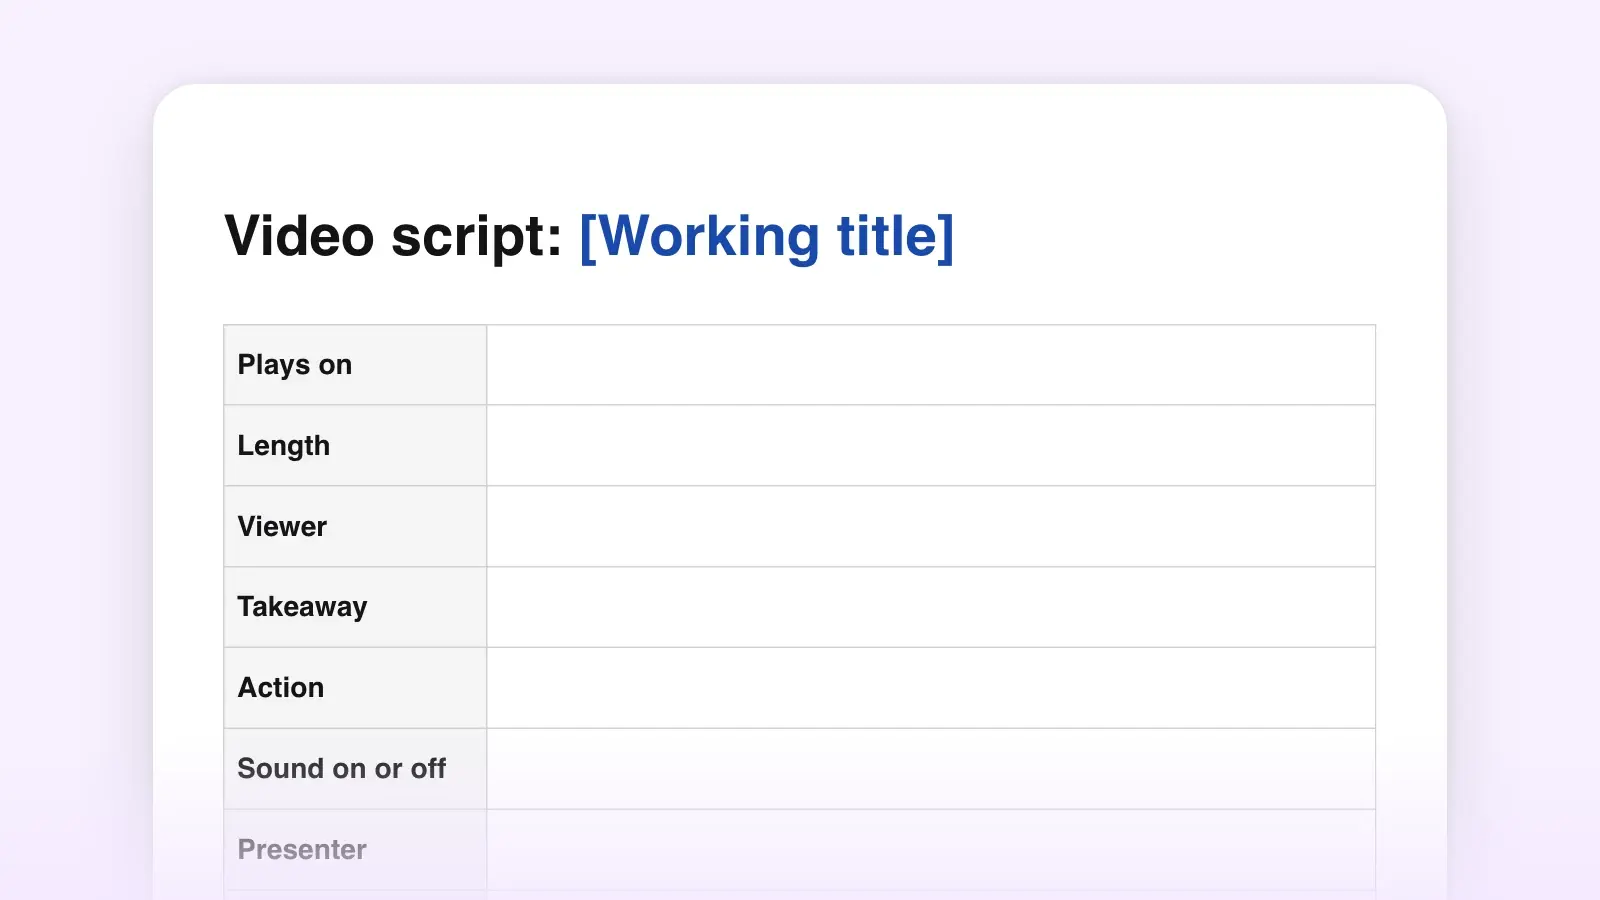
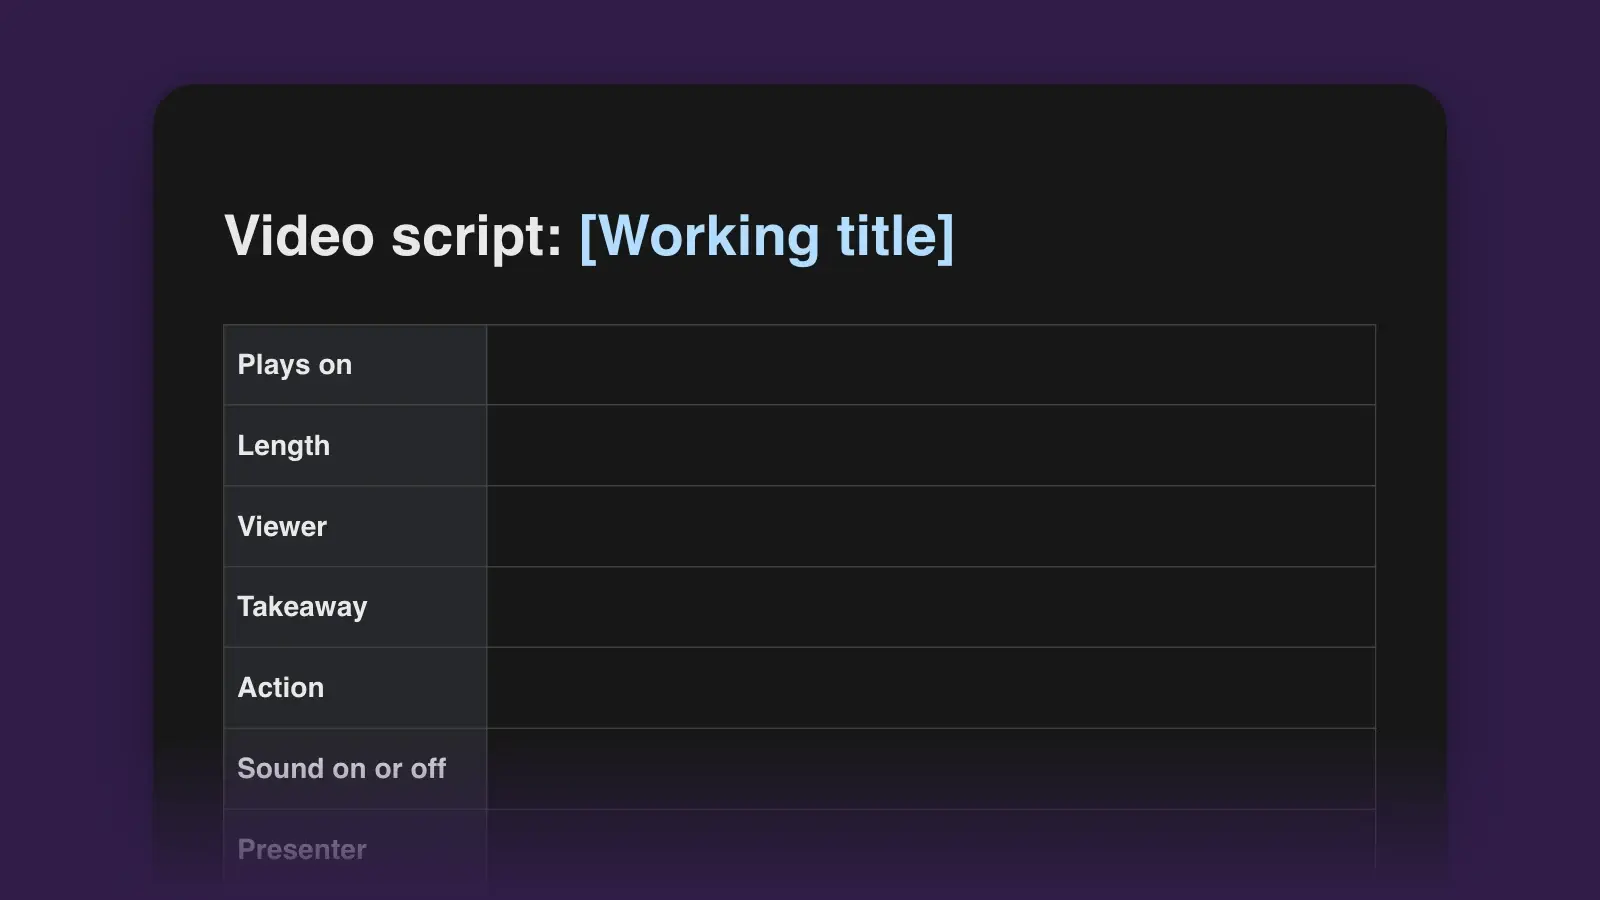
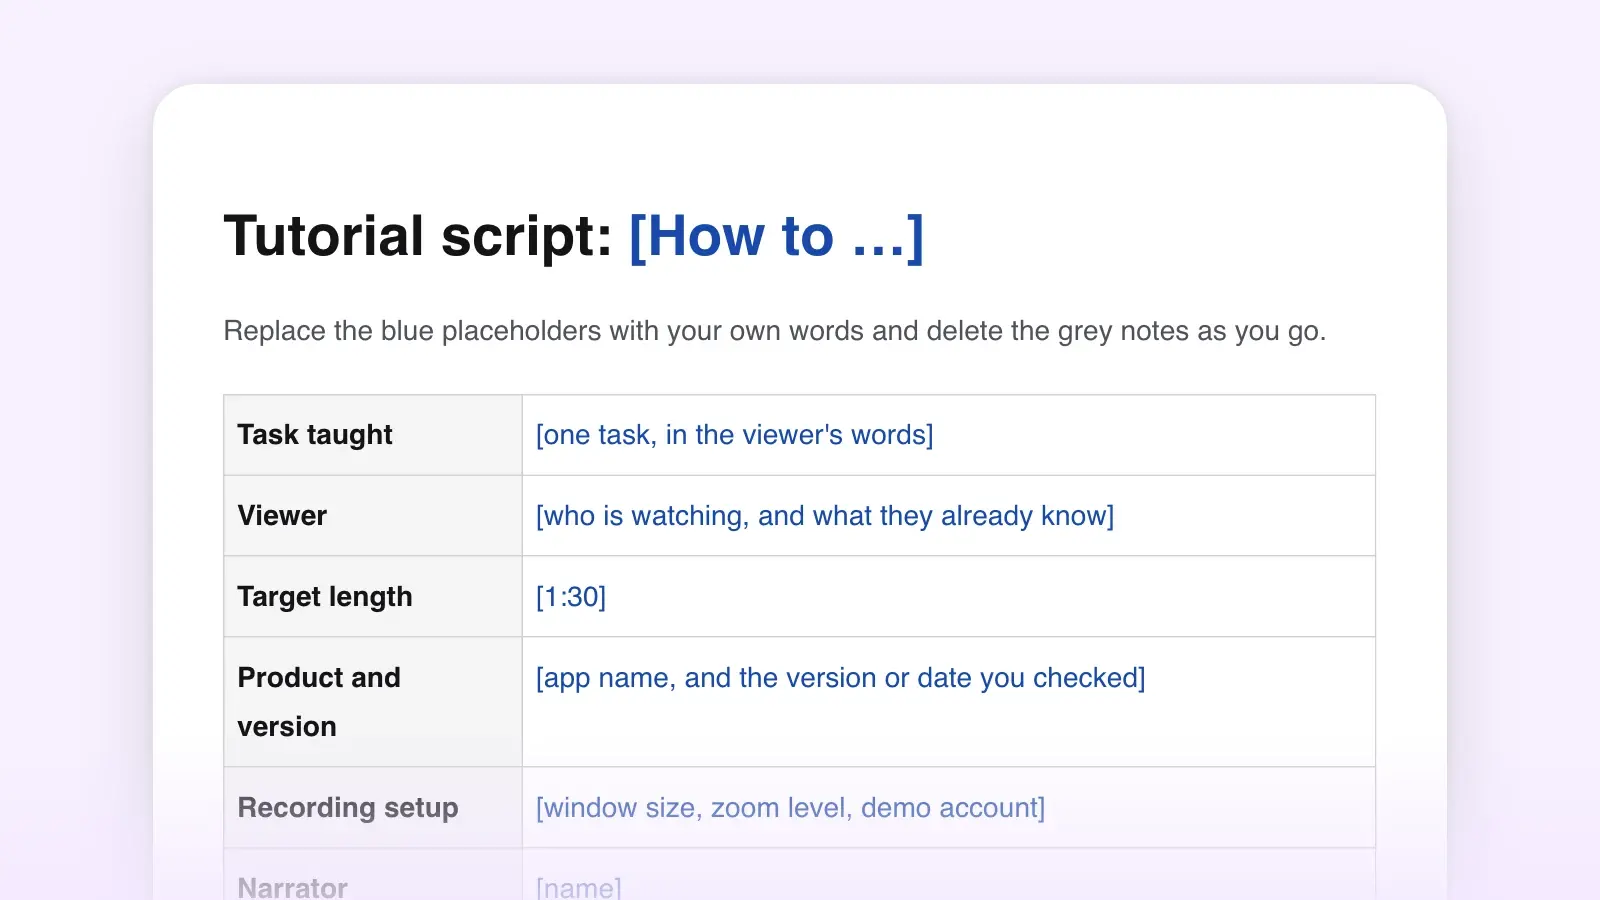
A video tutorial script pairs every action on screen with the words that explain it, one step at a time, so a viewer can follow along and finish the task. This template is built for screen recordings and how-to videos: an outcome line, prerequisites, a step table with columns for what happens on screen, the narration and the editing notes, then a recap and a next step. The filled-in example comes first, so you can see the table working before you fill your own.
Video tutorial script example
Here is the template filled in for a 1:45 tutorial on sending a first invoice in Tillwise, an invented invoicing app. Each row is one action: On screen is the recording plan, Narration is what the voice says, and Notes holds zooms, highlights, cuts and on-screen text. The time in the first column is when that row's action starts on screen. The narration runs to about 160 words, roughly 90 per minute of video, because the viewer needs time to watch each click land and the typing steps need seconds with no talking.
| Step | On screen | Narration | Notes |
|---|---|---|---|
| Step0:00 · Hook | On screenA finished invoice in a client's inbox, then a cut to an empty Tillwise dashboard | NarrationIn the next two minutes, you'll send your first invoice in Tillwise. | NotesTitle: Send your first invoice |
| Step0:08 · Before you start | On screenAccount menu, with Business details marked complete | NarrationYou'll need an account with your business details filled in. If you haven't done that yet, start with the setup video linked below. | NotesLink the setup tutorial in the description and on an end screen |
| Step0:19 · 1 | On screenSidebar: Clients, then New client | NarrationFirst, add the person you're billing. Open Clients and choose New client. | NotesHighlight the sidebar item |
| Step0:27 · 2 | On screenType a name and an email address, then Save | NarrationEnter their name and the email address the invoice should go to, then save. | NotesDemo data only: no real addresses |
| Step0:37 · 3 | On screenInvoices, then New invoice; pick the client from the list | NarrationNow open Invoices and choose New invoice. Pick the client you just added. | NotesZoom to 150% on the client list |
| Step0:46 · 4 | On screenAdd a line: description, quantity, rate. The total updates. | NarrationAdd a line for each piece of work. Tillwise multiplies the quantity by the rate and updates the total as you type. | NotesCallout on the total |
| Step1:00 · 5 | On screenDue date set to Net 30 | NarrationSet the due date. Net 30, the default, means payment is due 30 days after the invoice date. | NotesOn-screen text: Net 30 = due in 30 days |
| Step1:09 · 6 | On screenPreview, then scroll the invoice | NarrationCheck the preview. This is exactly what your client will see. | NotesSlow scroll; cut the loading spinner |
| Step1:18 · 7 | On screenSend; the message “Invoice sent” appears | NarrationWhen it looks right, choose Send. Tillwise emails your client a link and marks the invoice as Sent. | NotesHold one second on the confirmation |
| Step1:28 · Recap | On screenThe invoice list, with the new invoice marked Sent | NarrationThat's it: add the client, build the invoice, preview, send. | NotesOn-screen list: 1 Add client · 2 Build · 3 Preview · 4 Send |
| Step1:40 · Next | On screenEnd screen with the next tutorial | NarrationNext, find out when your client opens it. | NotesEnd screen, 5 seconds |
What it does on purpose: the hook shows the result before the first click and promises one outcome, the sent invoice. Seeing when the client opens it is a different task, so it becomes the next tutorial instead of a second promise. Each row holds one action. The narration says what each step is for ("the person you're billing") while the screen shows how. Jargon gets explained in passing ("Net 30 means…") and repeated on screen for anyone watching with the sound off. And the recap names the four steps in a word or two each, which is what a viewer is likely to remember the next time they open the app.
How to use this template
- Write the outcome in one sentence
"By the end, you'll have sent your first invoice." If the outcome needs an "and", you probably have two tutorials. One task per video keeps each one short, easy to find in a help center and cheap to re-record when the interface changes.
- Do the task once and write down every click
Run through the task in the product with the template open beside it. Fill the On screen column as you go: every click, every field and every wait, with the labels spelled exactly as they appear. The dry run is where you find the dialog box you forgot and the setting that is hidden for new accounts.
- Write the narration to the clicks
Now fill the Narration column, one or two sentences per row. Say why the viewer is doing something just before they do it, and name the button the way the screen names it. Leave the cursor out of it: the viewer can see the mouse move.
- Read it against the recording
Play the screen recording silently and read the narration over it. Wherever you run out of words before the screen catches up, mark a cut in the Notes column. Wherever you're still talking when the next click happens, trim the line. Then write the time each action starts in the Step column.
What goes in a tutorial script
| Part | What it does | Guide |
|---|---|---|
| PartHook and outcome | What it doesShows the finished result and says what the viewer will be able to do | GuideOne or two sentences, under 10 seconds |
| PartPrerequisites | What it doesWhat the viewer needs first: an account, a version, a file, a permission | GuideOne line, with a link to the setup video if there is one |
| PartSteps | What it doesOne row per action, in order, with the narration beside each | GuideMost of the video |
| PartRecap | What it doesThe steps again, as a list the viewer can remember | GuideOne sentence or an on-screen list |
| PartNext step | What it doesThe tutorial that naturally comes after this one | GuideOne sentence and an end screen |
The step table is the script, and its Step column gives each row a number the editor and the viewer can refer to, plus the time it starts. If you only need two columns, the general video script template puts picture and sound side by side for any kind of video.
Writing narration that matches the clicks
- Say the reason, then the action. "To bill a new client, open Clients" tells the viewer why their hand is moving. "Click Clients" alone teaches the click but not the task.
- Use the screen's words. If the button says New client, don't say "add a customer". Bold every interface label in the script, so the narrator stresses it and the editor knows what to highlight.
- One action per sentence. "Open Invoices, choose New invoice, pick the client and add a line" is four steps in one breath, and a viewer can fall behind by the second.
- Leave a beat after each click. A short pause lets the screen change before the next instruction. Mark long waits, such as uploads, as cuts rather than filling them with talk.
- Don't narrate the mouse. "Now I'm going to move over here and click" adds words and nothing else. Write it for the ear: short sentences, contractions, numbers said the way people say them. The rules of readability apply twice over.
- Show shortcuts, don't recite them. Put keyboard shortcuts in on-screen text. A spoken shortcut is easy to forget before the viewer's hands reach the keyboard.
Pacing and length
The National Center for Voice and Speech puts the average rate of speech for English speakers in the US at about 150 words a minute. Tutorial narration usually needs to run well under that per minute of video, because the viewer has to watch the screen, find the button and often copy the step. Budget about 100 to 120 words of narration per minute of video as a starting point, then time a read against the recording and adjust. In the example above, a step with one or two clicks gets eight or nine seconds for 12 or 13 words, and the steps with typing get ten to fourteen.
Keep each video to one task. If a tutorial runs past five minutes, check whether it is two tutorials: a long video is harder to search, and when one menu changes, more of it has to be re-recorded. When a longer lesson can't be split, give it chapters at each step, the way the YouTube script template does.
Record the screen first, or the voice?
Screen first, narration after
- Natural for software: record the task, then write narration to the picture
- Easy to cut waits and mistakes before any words exist
- Narration can be re-recorded without touching the screen capture
- Risk: the voice sounds stitched on if the script ignores the timing
Script and voice first, screen after
- Best when the words are approved first, as in courses and client work
- The recording follows the narration, step by step
- Easy to translate: the script is the master
- Risk: the screen has to keep up, so rehearse the clicks
Either way, the template is the plan both recordings follow. For a narrator who records separately, the voiceover script template adds pronunciation notes and pacing marks.
Variations: demo, how-to and course lesson
Each variation starts from what the viewer is trying to do, and that goal decides what the script keeps.
| Variation | The viewer wants | What changes in the script |
|---|---|---|
| VariationTutorial, as in the example | The viewer wantsTo finish the task while following along | What changes in the scriptNothing: one action per row, a recap, and the next tutorial at the end. |
| VariationSoftware demo for prospects | The viewer wantsTo decide whether the product is worth trying | What changes in the scriptFewer clicks, more results: each row is a feature and what it saves the viewer. The hook is the problem, not the outcome. Close with a call to action instead of a next tutorial. |
| VariationProduct how-to, hands on camera | The viewer wantsTo finish a physical task with the video playing beside them | What changes in the scriptThe On screen column becomes Camera: close-ups, angles, which hand does what. Add a parts list to the prerequisites and put safety notes in their own rows, spoken and on screen. |
| VariationCourse lesson | The viewer wantsTo learn a skill and check that they've got it | What changes in the scriptOpen with the learning objective, mix slides, a talking head and the demo, and end with a question the learner can answer to check they got it. |
| VariationShort tip, 30 to 60 seconds | The viewer wantsTo pick up one trick in under a minute | What changes in the scriptOne action, a vertical crop, captions burned into the picture, no prerequisites row. Cut it from a longer tutorial and link back to it. |
If the video explains what a product is and why it matters, rather than how to use it, it's an explainer: the explainer video script template is built for problem, solution and proof. Tutorials that grow into a full course often end up as a training manual with videos embedded.
Before you record
Frequently asked questions
How long should a tutorial video be?
As short as the task allows. Teach one task per video; if a tutorial runs past five minutes, check whether it is really two. Short videos are easier to find in a help center and cheaper to update when the interface changes. If a long lesson can't be split, add chapters at each step.
How many words per minute should tutorial narration be?
Fewer than normal speech. The National Center for Voice and Speech puts average US English speech at about 150 words a minute, but a viewer following along needs time to watch each click. Plan about 100 to 120 words of narration per minute of video as a starting point, then time a read against the recording and adjust.
Should I record the screen or the voiceover first?
Both work. Recording the screen first suits software tutorials, because you can cut waits and mistakes and write the narration to the picture. Recording the voice first suits courses and client work, where the words are approved in advance. In both cases the script is the plan that keeps the two in step.
What is the difference between a tutorial and an explainer video?
A tutorial teaches the viewer to do a task, step by step, while they follow along. An explainer tells them what something is and why it matters, usually to persuade them to try it. Tutorials are judged by whether the viewer finished the task; explainers by whether the viewer understood the idea.