When to use it
- A support team that answers the same ten problems every week
- A product or feature whose error messages need explaining, cause by cause
- Devices and equipment that owners can fix themselves with the right checks
- Internal IT problems, such as printers, VPN access or a shared drive that won't open
- A help center or manual section that has outgrown a three-column table
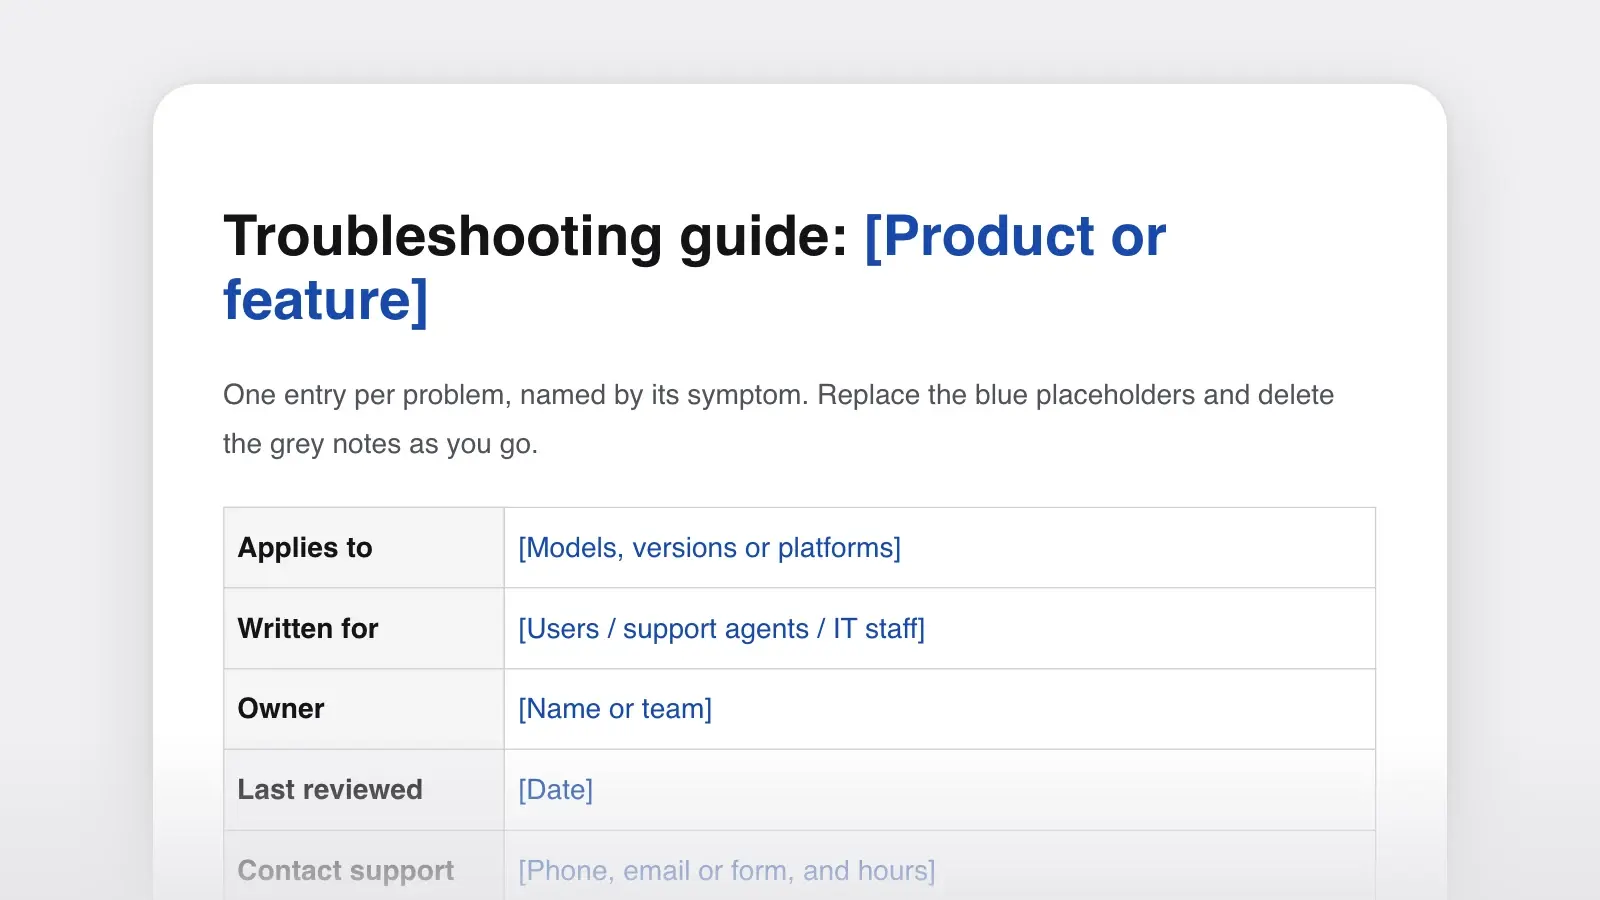
A troubleshooting guide is a document that takes a reader from a symptom, such as an error message or a device that won't turn on, to a fix, by checking the likely causes in a set order. This template gives every problem the same entry: the symptom in the reader's words, a quick check, causes from most to least likely, steps that say what to do if a check passes or fails, how to confirm the fix and when to contact support.
The filled-in entry below, for a label printer, shows the order: one quick check, then the causes, each ending in a test, the next cause or a handover to support. If a problem has one cause and a one-line fix, a row in the user manual is enough. This template is for problems that need a diagnosis.
Troubleshooting guide example
Here is one entry, filled in for the Tagwell T2, an invented label printer for small shipping desks. It prints with heat on coated labels, with no ink or ribbon, so the labels are the first suspect.
Symptom. Labels feed out of the printer blank, or the print is too faint to scan.
Applies to. Tagwell T2 and T2W, firmware 3.0 or later.
Before you start. The printhead can be hot right after printing. Switch the printer off and wait five minutes before you touch it.
Quick check. Print a test label: with the printer on, hold Feed for three seconds. If the test label prints dark and sharp, the printer is fine; go to cause 4. If it's blank or faint, start at cause 1.
Cause 1: the roll is loaded backwards. Tagwell labels print on one side only. Before you reload anything, scratch a blank label hard with a fingernail: the printing side shows a dark mark.
- Mark on the side facing away from the printhead: the roll is backwards. Reload it with the marked side facing the printhead, then print a test label.
- Mark on the side facing the printhead: the roll is loaded correctly and the labels are the right type. Go to cause 3.
- No mark on either side: go to cause 2.
Cause 2: the labels are the wrong type. The Tagwell T2 prints only on direct thermal labels. Labels made for printers that use a ribbon stay blank in it. Check the part number on the box against the list inside the printer's cover. If it isn't listed, replace the roll with one that is, then print a test label.
Cause 3: the darkness setting is too low. In the Tagwell app, open Settings › Print. If Darkness is below 10, set it to 15 and print a test label; if the print is still faint, raise it in steps of 2, up to 20. If Darkness was already 10 or more, or the print is still faint at 20, go to the last part of this entry.
Cause 4: the app is printing the wrong size. If the test label prints but labels from your shipping software come out blank, the software is sending a page size the printer doesn't use. In its print settings, choose 4 × 6 in and set the margins to 0.
Confirm the fix. Print one real label and scan it. It should scan on the first try.
Still blank or faint? Stop here. The printhead may be damaged, and opening the printhead assembly voids the warranty. Contact support with the serial number from the base of the printer, the label part number, a photo of a blank label and a test label, and the causes you checked.
Why it works. The quick check splits the problem in half: if the test label prints, the printer is fine and three causes drop away at once. The scratch test then rules causes in or out before the reader reloads, replaces or adjusts anything; a mark on the right side clears both the roll and the label type. Causes run from the cheapest and most likely to check to the least likely, every test ends in a next step, and the entry ends where a reader should stop, with the reason and the list support will ask for.
How to use this template
- Collect the real problems
Pull the last few months of support tickets, chat logs, returns notes and help-center searches that found nothing. Group them by symptom and count them. The ten most frequent get entries first; a problem that came up once can wait.
- Name each problem by its symptom
Use what the reader sees, hears or gets, in their words: “Labels print blank”, not “Printhead fault”. Quote error messages exactly, with their codes. Readers search for the text on their screen, and the entry title is what search finds.
- Order the checks by likelihood and effort
Quick, safe, likely checks go first: the cable, the power, the setting someone changed last week. Resets, reinstalls and anything that erases settings or data go last, with a line saying what they erase.
- Give every check two exits
Each check is an action, what to look for and where to go next. If the test label prints, the printer is fine and the fault is in the app; if it's blank, go on to the next cause. Nobody should finish a step without knowing what to do next.
- End with confirm, stop and escalate
Say how to tell the problem is fixed, when to stop (a safety risk, data loss, a voided warranty) and exactly what to send support: model, serial number, version, the error text and what the reader already tried. Then support's first reply can be an answer instead of a question.
What goes in a problem entry
| Part | What to write | Example |
|---|---|---|
| PartSymptom | What to writeWhat the reader sees or hears, with any message quoted exactly | ExampleLabels feed out blank, or too faint to scan |
| PartApplies to | What to writeModels, versions or platforms | ExampleTagwell T2 and T2W, firmware 3.0 or later |
| PartBefore you start | What to writeSafety, data loss and what to have ready | ExampleSwitch off the printer and let the printhead cool |
| PartQuick check | What to writeOne check that rules out half the causes at once | ExamplePrint a test label |
| PartCauses and fixes | What to writeEach cause with a test and a fix, most likely first | ExampleRoll loaded backwards: scratch test, then reload |
| PartConfirm the fix | What to writeWhat working looks like | ExampleA real label scans on the first try |
| PartContact support | What to writeWhen to stop, and what to include | ExampleSerial number, label part number, photos, causes checked |
Troubleshooting table format
When each problem has one likely cause and a fix that fits in a sentence, a three-column table is faster to scan than full entries. This one is from the help pages of an invented scheduling app:
| What you see | Why it happens | What to do |
|---|---|---|
| What you seeGuests say the invitation never arrived | Why it happensIt went to their spam or promotions folder | What to doAsk them to search their email for “Invitation from Gatherwise” and mark it as not spam |
| What you see“This link has expired” | Why it happensInvitation links expire after 14 days | What to doResend the invitation from the event's Guests tab |
| What you seeEvent times show in the wrong time zone | Why it happensYour account's time zone differs from your computer's | What to doOpen Profile › Time zone and choose your city |
| What you see“You don't have permission to edit this event” | Why it happensOnly organizers can edit an event | What to doAsk the organizer to make you a co-organizer |
Decision tree format
When the fix depends on what the reader finds, write the checks as numbered questions, each with a yes path and a no path. It works like a flowchart, but it can be searched, pasted into a help desk and edited without redrawing. Here is one an invented company's IT team wrote for staff:
| Step | Check | If yes | If no |
|---|---|---|---|
| Step1 | CheckCan you open a public website, such as a news site? | If yesGo to 2 | If noYour internet connection is down. Fix it first, then start again |
| Step2 | CheckDoes the VPN app show “Sign-in failed”? | If yesGo to 3 | If noGo to 4 |
| Step3 | CheckDid you change your password in the last day? | If yesSign out of the app and sign in with the new password, then go to 5 | If noReset your password on the staff portal, sign in again, then go to 5 |
| Step4 | CheckHas the app shown “Connecting…” for more than a minute? | If yesQuit the app, restart your computer and reconnect, then go to 5 | If noGo to 5 |
| Step5 | CheckDo company sites open now? | If yesDone | If noContact IT with a screenshot of the app, the time it failed and the steps you tried |
Error message reference format
Some products show codes that need a page of their own. Google's technical writing course on error messages says a good message answers two questions: what went wrong, and how the user can fix it. An error reference answers both for messages that can't fit the answers on screen. This one is for an invented recording app:
| Message | What it means | What to do |
|---|---|---|
| Message“E-102: No input device” | What it meansThe app can't find a microphone | What to doPlug the microphone in, then choose it in Settings › Audio › Input |
| Message“E-207: Disk almost full” | What it meansLess than 2 GB is free on the recording drive | What to doFree up space, or choose another drive in Settings › Storage |
| Message“E-310: Sample rate mismatch” | What it meansThe microphone and the project use different sample rates | What to doSet both to 48 kHz in Settings › Audio |
| Message“E-415: Export failed” | What it meansThe export folder was moved or renamed | What to doChoose the export folder again in the Export window |
Tips for troubleshooting guides
- Use the reader's words. Search your tickets for how people describe the problem (“won't print”, “nothing comes out”) and put those phrases in the symptom line.
- Put the action first, then the result. Google's developer documentation style guide says to “state the action first and the result second.” “Hold Feed for three seconds. A test label prints.”
- Warn before the step, not after it. If a step involves heat, electricity or data loss, the warning goes just before it.
- Say when to stop. Mark the point where the reader should hand over to support, a technician or IT, and say why.
- Keep one name for each thing. If the button says Feed, the guide says Feed. A short style guide keeps a support team's wording consistent.
- Update from new tickets. When the same new problem arrives more than once, give it an entry. When a bug is fixed, retire its entry.
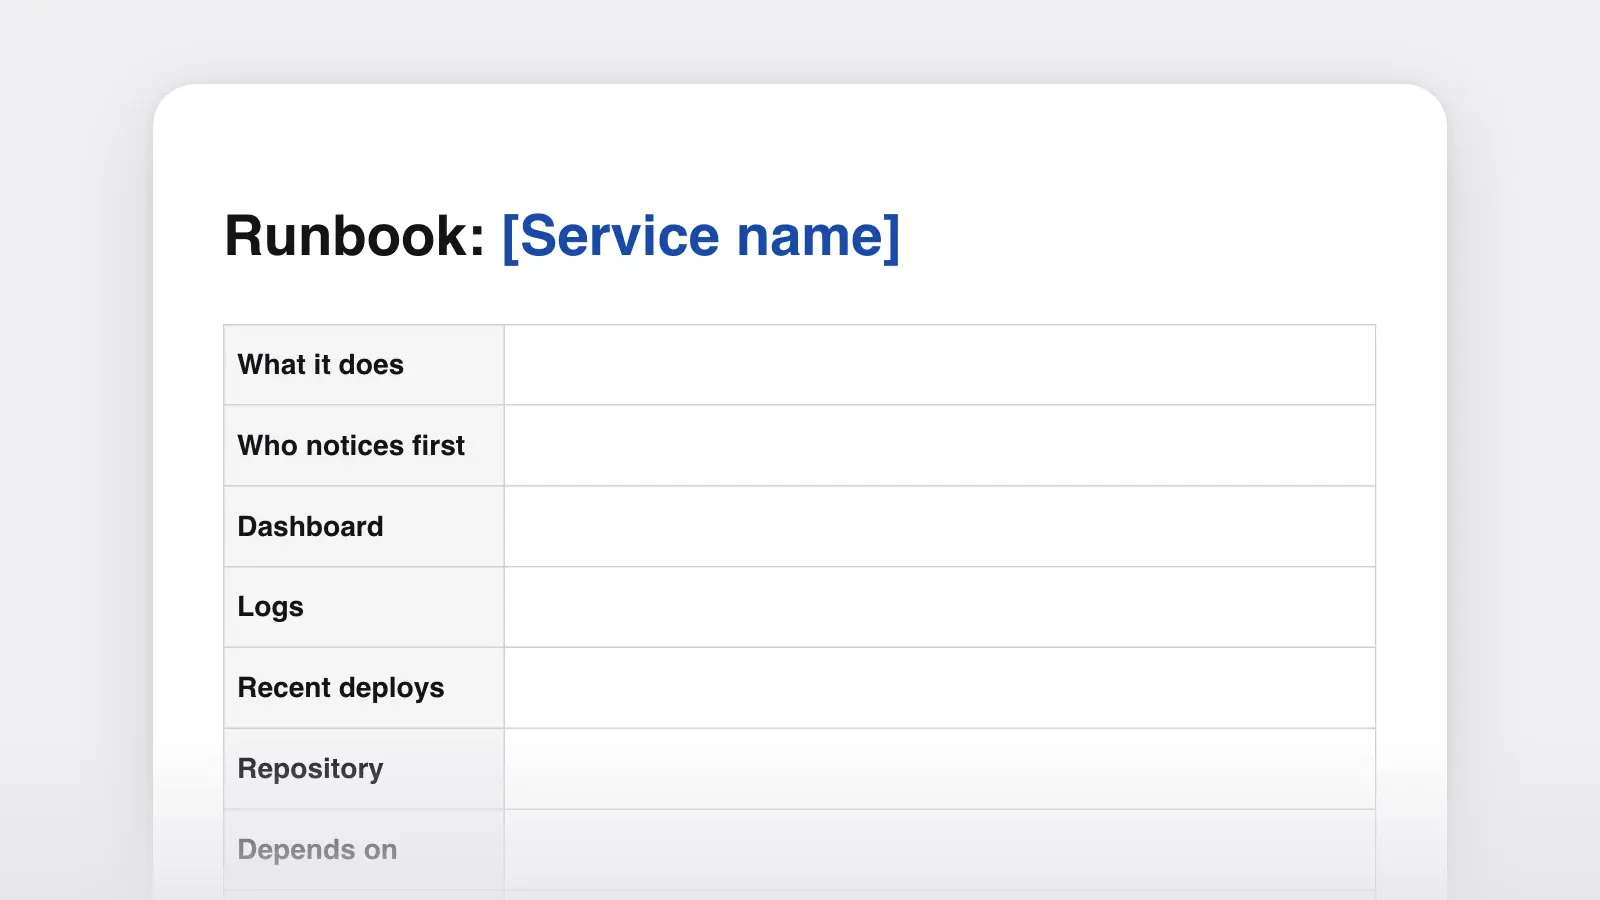
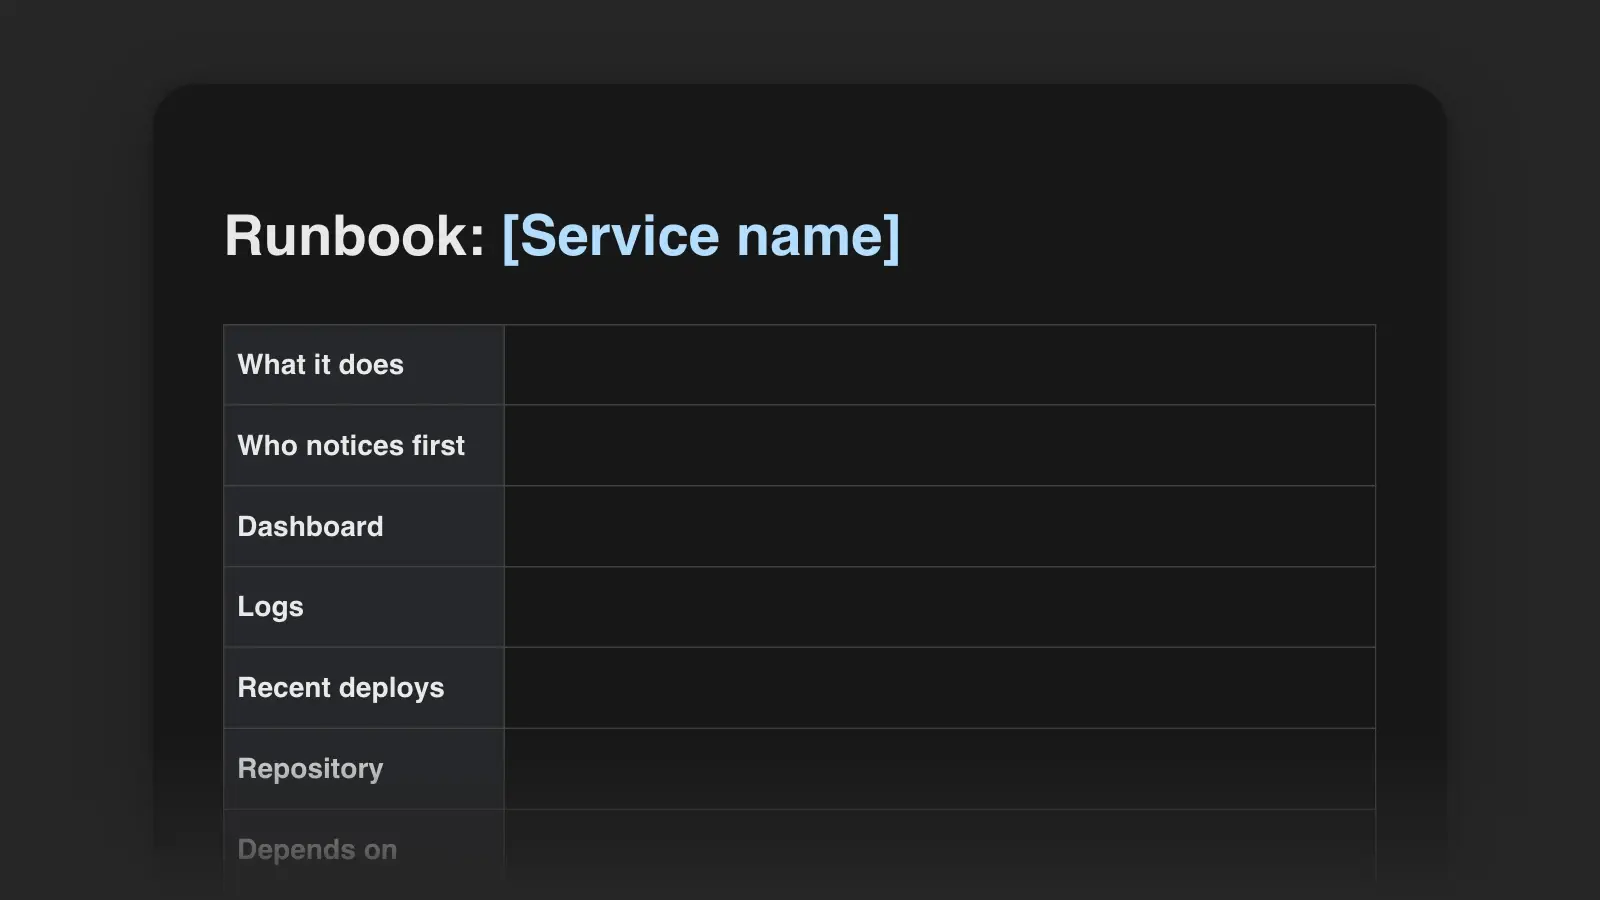
Engineers responding to alerts need a runbook instead, and short answers to common questions belong in an FAQ. When each problem gets its own help-center page, use the knowledge base article template for the page and keep this entry structure inside it.
“Use this template” opens the guide in Strokes as a document you can edit and export, with the symptom index, the entry and the three formats in place. Before you publish an entry, ask the Strokes Assistant to review it and point out any check without an “if no” path, and any step that asks the reader to replace or adjust something before a check has ruled that cause in.
Frequently asked questions
How do you write troubleshooting steps?
Write one action per step and follow it with what the reader should see. Give each check a path for yes and for no, and order the checks from quick, safe and likely to slow, risky and rare. End every path with a fix, a way to confirm it, or a handover to support.
Should a troubleshooting guide be a table or a flowchart?
Use a table when each problem has one likely cause and a short fix. Use a decision tree, written as numbered questions with yes and no paths, when the right fix depends on what the reader finds. Use full entries for problems with several causes. Many guides mix all three.
What is the difference between a troubleshooting guide and a runbook?
A troubleshooting guide is usually written for users or support staff and starts from a symptom they notice. A runbook is written for the engineers who operate a system and starts from an alert, with commands, dashboards and escalation contacts. Both put their checks in order and say when to escalate.