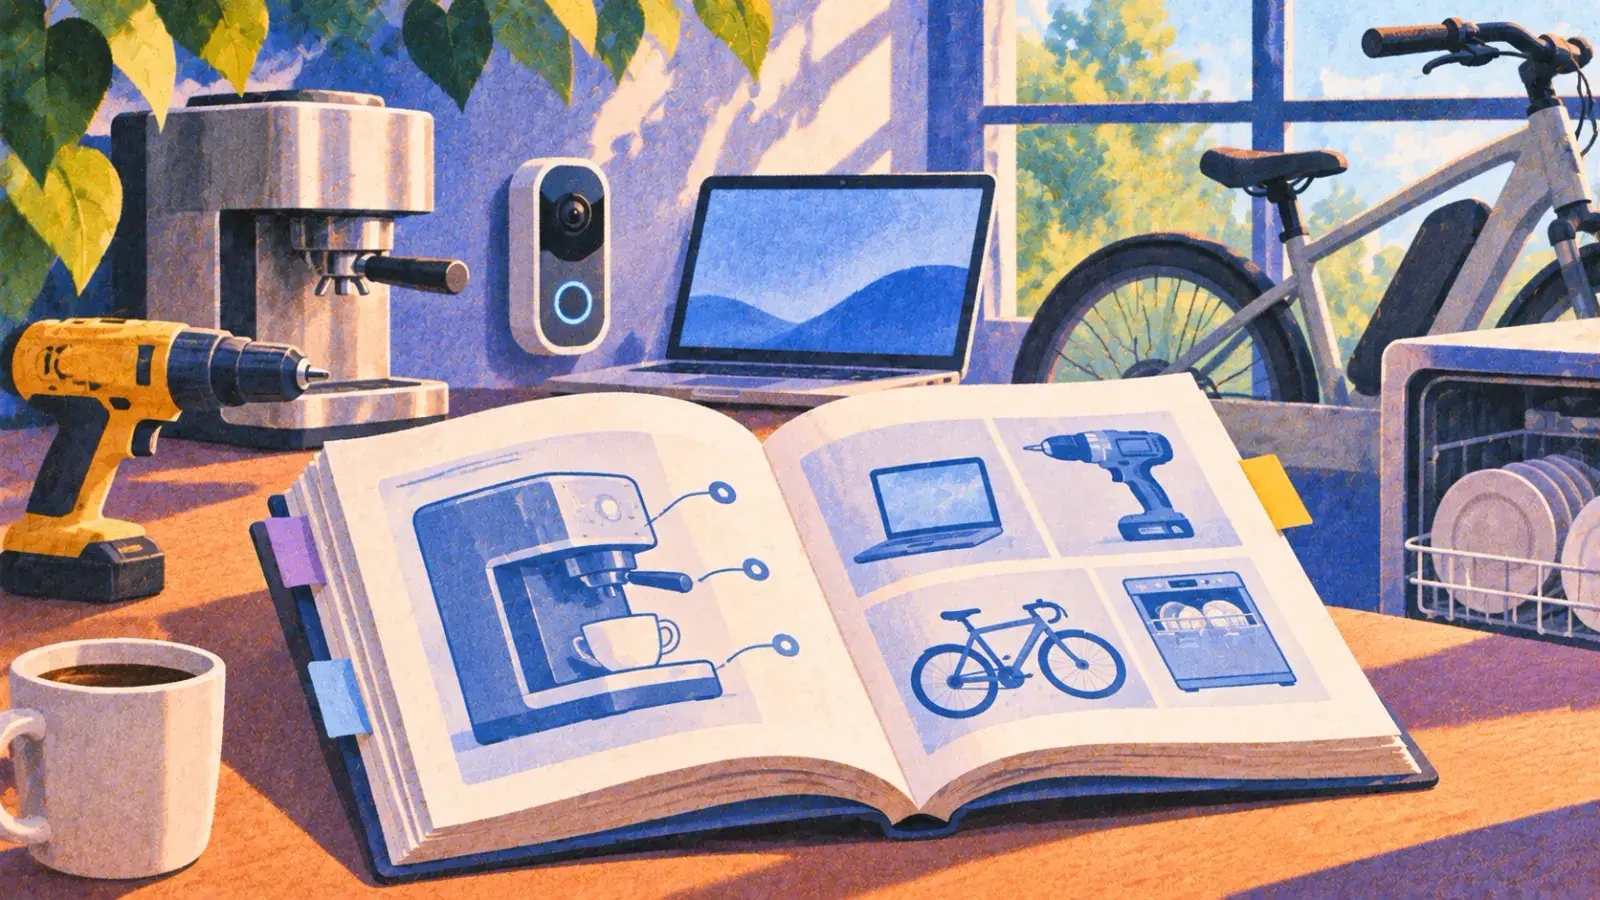
A user manual is a document that explains how to set up, use, look after and fix a product, written for the person who owns or operates it. The nine user manual examples below cover different products and readers, from a coffee grinder and a cordless drill to desktop software and a board game. Each one zooms in on the part of a manual that product most needs to get right, and each is followed by notes on why it works.
The products are invented and the examples are original, but every excerpt is complete enough to borrow the pattern. To start your own manual from a blank page, use the user manual template, which has every section ready to fill in.
| Example | Product | What it shows |
|---|---|---|
| ExampleAppliance manual | ProductCoffee grinder | What it showsParts keyed to a drawing, setup and first use |
| ExamplePower tool manual | ProductCordless drill | What it showsSafety messages placed at the step |
| ExampleSmart device manual | ProductVideo doorbell | What it showsSetup steps beside a status-light table |
| ExampleSoftware user guide | ProductInvoicing app | What it showsA task topic with exact screen labels |
| ExampleAdministrator guide | ProductThe same app | What it showsRoles and permissions for a second reader |
| ExampleOwner's manual | ProductE-bike | What it showsA maintenance schedule |
| ExampleEquipment manual | ProductCafé dishwasher | What it showsTroubleshooting with a display code |
| ExampleGame rulebook | ProductCard game | What it showsSetup, a turn and an example of play |
| ExampleQuick reference card | ProductMeeting room | What it showsOne page, three tasks |
The parts of a user manual
Manuals for physical products tend to share the same sections in the same order, and software manuals keep most of them:
- About this manual. Who it is for, and which model or software version it covers.
- Safety information. Every warning in one place, repeated at the steps where each hazard appears.
- Product overview. A labeled drawing or screenshot, with numbered callouts.
- Getting started. What's in the box, setup and first use.
- Tasks. One section for each thing the reader wants to do, with a verb in every heading.
- Care and maintenance. Cleaning, servicing and storage, by interval.
- Troubleshooting. Symptoms, causes and fixes, and when to contact support.
- Specifications, support and warranty. The facts a reader looks up once.
Software manuals usually drop the parts and maintenance sections and add screenshots. Each example below shows one of these parts done well.
Appliance manual: setup and first use
The first pages of an appliance manual decide whether the owner reads any further. This one is for a countertop coffee grinder with forty grind settings.
In the box. Grinder base, bean hopper with lid, grounds bin, cleaning brush, this manual.
Parts and controls. The numbers match the drawing on page 3.
- Hopper lid
- Bean hopper (holds 250 g)
- Grind dial: 1 is the finest setting, 40 the coarsest
- Start button
- Timer dial, in seconds
- Grounds bin
Before first use
- Wash the hopper, lid and grounds bin in warm soapy water and dry them completely. Don't put the base in water.
- Set the hopper on the base and turn it clockwise until it clicks. The lock symbol lines up with the dot on the base.
- Plug in the grinder.
- Pour in about 30 g of beans, set the grind dial (3) to 20 and press Start (4). Throw these grounds away: the first grind clears out dust left from manufacturing.
Choose a starting setting. Espresso: 1–6. Pour-over: 14–20. French press: 30–36. Then move two settings at a time until the coffee tastes right.
Why it works. The parts list uses the same numbers as the drawing, so “set the grind dial (3)” points at one spot on the page. The step most likely to go wrong, fitting the hopper, ends with two things the owner can check: a click and a symbol lining up. Step 4 says why the first batch goes in the bin, which stops people skipping it. And three starting ranges turn forty settings into one decision.
Power tool manual: safety messages
A power tool manual has to warn without crying wolf. This excerpt is the task “Change the bit” from the manual for a cordless drill.
WARNING: Unexpected start. If the trigger is pressed while your hand is on the chuck, the drill can start and seriously injure your hand. Remove the battery before you change a bit.
- Press the battery release button and slide the battery out of the handle.
CAUTION: Hot surface. A bit can be hot enough to burn right after drilling metal. Let it cool for a few minutes, or wear gloves, before you touch it.
- Turn the chuck sleeve toward the Open mark until the jaws release the old bit.
- Insert the new bit as far as it will go.
- Turn the sleeve toward the Lock mark by hand until it clicks.
- Pull on the bit. If it moves, repeat step 4.
- Slide the battery into the handle until it clicks.
Why it works. Both messages follow the same order: signal word, the hazard, what could happen, how to avoid it. The WARNING covers the whole task, so it comes before step 1; the CAUTION about a hot bit sits just before the step where a hand first touches it. The signal words follow the scale in the user manual template: WARNING for a hazard that could cause death or serious injury, CAUTION for one that could cause minor or moderate injury. Steps 2 and 4 point to marks on the chuck instead of saying clockwise, which depends on which end you look from. And step 5 is a check the user can feel, so a loose bit is caught before the motor runs.
Smart device manual: status lights
Devices without a screen talk through lights, and the owner has to translate. The manual for this battery-powered video doorbell uses the same lights twice: once as checks inside the setup procedure, and once in a status table the owner looks things up in.
- Slide the charged battery into the back of the doorbell until it clicks. The light ring spins white for about a minute, then blinks blue slowly.
- Open the Porchlight app and select Add device, then Doorbell.
- Scan the code on the back of the doorbell with your phone.
- Choose your Wi-Fi network and enter its password. When the doorbell connects, the light ring stays solid blue for 5 seconds, then turns off.
- Press the doorbell button. Your phone shows a test notification within a few seconds.
- Spinning white: starting up. Wait about a minute.
- Slow blinking blue: ready to set up. Open the Porchlight app and select Add device.
- Solid blue for 5 seconds: connected to Wi-Fi. Setup is complete.
- Fast blinking red: can't reach Wi-Fi. Check the Wi-Fi password in the app. If it's right, try setup again with the doorbell in the same room as the router.
- Two red flashes after a press: the battery is below 10%. Charge it within a few days.
- Off: normal. The light turns off between presses to save the battery.
Why it works. The two excerpts cover the same lights and do different jobs. The setup is a procedure: the owner reads it once, in order, and the lights in steps 1 and 4 and the test notification in step 5 tell them each stage worked. The table is reference: weeks later the owner arrives with one pattern already blinking and needs one row. Fold the table into the procedure and the five setup steps disappear under failure cases; turn the table into steps and an owner with a low battery reads through Wi-Fi setup to find it. So the procedure goes in Getting started, the table near Troubleshooting, and each points to the other.
The table's rows are organized by what the owner sees, not by what the device is doing inside. Every row says what to do next, even when the answer is nothing: the Off row is the one that stops people calling support about a doorbell that works. The patterns differ in speed and count as well as color, so a reader who can't tell red from blue can still use the table.
Software user guide: a task
Software manuals are built from task topics: one goal, any prerequisites, numbered steps and a result. This is one topic from the user guide for an invented invoicing app.
Send an invoice
Email an invoice to a customer from Duebook. The customer receives a PDF and a link to pay online.
Before you begin: the customer needs an email address in their contact details. To accept online payments, connect a payment account in Settings › Payments.
- In the sidebar, select Invoices.
- Open the invoice you want to send. Its status is Draft.
- Select Send. The Send invoice window opens with the customer's email address filled in.
- Optional: To attach a timesheet, select Attach file and choose the file.
- Select Send now.
The status changes to Sent, and the invoice moves to the Awaiting payment list. To see when the customer opens it, check the invoice's History tab.
Why it works. Each step says where before what (“In the sidebar, select Invoices”), the order both Microsoft's and Google's style guides ask for. Screen labels are bold and spelled exactly as they appear; Microsoft's guide uses bold for the names of buttons and other options. The optional step begins with “Optional:”, as Google's guide recommends, and it states its goal before its action. The prerequisites come before step 1, so nobody finds out halfway through that the customer has no email address.
Administrator guide: roles and permissions
The person who sets up a product for a team needs a different manual from the people who use it. This excerpt is from the admin guide for the same invoicing app.
Roles and what they can do
- Owner: everything, including billing, closing the company account and transferring ownership. Each company has exactly one owner.
- Admin: everything except billing and closing the account. Can invite and remove users.
- Accountant: can create, send and edit invoices and run reports. Can't change company settings or users.
- Staff: can create draft invoices and log time. Can't send invoices or see reports.
Change a user's role
- In Settings, select Users.
- Next to the user's name, select their current role and choose the new one. The change takes effect the next time they open Duebook.
Transfer ownership. Only the owner can do this. The new owner must accept by email within 7 days. Once they accept, the old owner becomes an admin and can't reverse the transfer.
Why it works. Each role says what it can't do as well as what it can, because the “can't” is what users ask their admin about. The guide says when a change takes effect, which answers the next question before anyone asks it. And the one action that can't be reversed gets its own paragraph: who can do it, the deadline and what happens afterwards.
Owner's manual: maintenance schedule
Maintenance is where an owner's manual earns its keep, years after the purchase. This schedule is from the owner's manual for a city e-bike.
Before every ride
- Squeeze both brake levers. Each should stop firmly before it touches the handlebar.
- Check the tire pressure. The range is printed on the side of each tire.
- Switch on the lights and check that both work.
Every month or 300 miles (480 km), whichever comes first
- Wipe the chain with a dry cloth and apply bike chain lubricant.
- Push on the wheels, handlebar and seat post. None of them should move.
- Update the motor software in the Corso app.
Every 6 months or 1,500 miles (2,400 km): bike shop service
- Brake pads, chain wear, spoke tension and a motor check. These need special tools and training, so leave them to the shop.
Battery care. Charge indoors at room temperature. If you won't ride for more than a month, store the battery about half charged and check it every few weeks. Never open the battery case.
Why it works. The schedule is organized by interval, which is how owners think about upkeep, and gives both time and distance, so occasional riders and daily commuters each know when they are due. It draws a line between owner jobs and shop jobs and says why the line is there. Pointing to the tire for the pressure range keeps the manual right even after the owner fits different tires.
Equipment manual: troubleshooting
Troubleshooting is the section people open in a hurry, often in the middle of a shift. This one is from the manual for an undercounter dishwasher used in cafés.
Glasses come out spotty or cloudy. The rinse aid has run out, or the water hardness setting is too low. Refill the rinse aid container (the blue cap inside the door). If spots continue, set the water hardness for your area in Menu › Water.
The display shows “E3”. The machine can't drain. Switch it off, lift the drain filter out of the bottom of the tank, rinse it under the tap and press it back until it clicks. Then switch on.
The machine doesn't fill. The water tap behind the machine is closed, or the inlet filter is blocked. Open the tap fully. If it still doesn't fill, call service.
Call service if “E3” comes back within a day of cleaning the filter, if water collects under the machine, or if you smell burning. Switch the machine off at the wall first. Have the serial number ready; it is on the label inside the door.
Why it works. Each problem is written as the user sees it, and the display code is quoted exactly as it appears, so a search for “E3” finds it. Fixes come in the order they are easiest to try: refill a container before changing a setting, clean a filter before calling anyone. The last entry says exactly when to stop and what to have ready, so the service call starts with the serial number.
Game rulebook: setup and a turn
A rulebook is a user manual for a game, read by people who want to be playing in ten minutes. This excerpt is from an invented card game for two to four players.
Goal. Be the first player to light all five of your lanterns.
Setup
- Give each player a harbor board and five lantern tokens, unlit side up.
- Shuffle the ship cards and deal four to each player. Put the rest face down as the draw pile.
- Turn the top three cards face up beside the draw pile. This is the dock.
- The player who most recently saw the sea goes first. Play passes to the left.
On your turn, do these three things in order: take one card from the dock or the draw pile; play a set of three or more ships of one color to light one lantern, or pass; refill the dock to three cards.
Example of play. Ana holds two blue ships and a lighthouse. She takes a third blue ship from the dock, plays the three blue ships as a set and lights a lantern. Then she turns over the top card of the draw pile to refill the dock.
Rulings. A lighthouse counts as a ship of any color. If the draw pile runs out, shuffle the discards to make a new one.
Why it works. The goal comes first, so every rule after it has a purpose the reader can see. The turn fits in one sentence with three steps, short enough to remember after one reading. The example of play uses a named player and real cards, which settles questions another paragraph of rules wouldn't. And the edge cases are collected under Rulings instead of being buried in the setup.
Quick reference card
A quick reference card is for people who already know the product and need a reminder, not a lesson. This one hangs on the wall of a meeting room.
Show your laptop on the screen
- Plug the cable labeled LAPTOP into your laptop.
- Wait about 5 seconds. The screen switches to your laptop on its own.
Join a video call. On the touch panel, tap the meeting, then tap Join. The camera light turns green.
End the meeting. Tap End meeting. The screen and the camera switch off after 2 minutes.
Not working? Call IT on extension 4357 and give the room number, 4B.
Why it works. The card covers the three things people do in the room and nothing else. It names the cable by its label and says how long the automatic switch takes, so nobody presses buttons during those 5 seconds. One-step tasks aren't numbered: Google's style guide says a single step can be written as a normal sentence, and Microsoft's says one step might not need list formatting at all. The last line gives a number to call and the one fact IT will ask for first. A card like this is not a quick start guide, which gets a new product working once; the quick start guide template covers that job.
How to use these examples
- Match the reader, not just the product. A guide for the person who sets up an app for a whole team follows the administrator pattern, however small the app is.
- Borrow the structure, not the wording. The numbered parts list, the status table, the task topic and the interval schedule all work for products very different from these.
- Write with the product in front of you. Do each task as you write it and copy every label from the screen or the casing.
- Test on someone new. Watch a first-time user follow the manual without helping. Every hesitation is a step to fix.
If you write the manual in Strokes, attach the engineering spec to a chat with the Strokes Assistant and ask it to list every control or setting in the spec that the manual never mentions.
For procedures your own staff follow at work, rather than products a customer owns, the SOP examples show the same habits in a different document.
Common user manual mistakes
Written for the reader
- Pair the remote: press and hold Pair for 3 seconds. The light blinks blue.
- The display shows “E3”: the machine can't drain.
- A WARNING just before the step with the hazard
- The model or software version on the first page
Written about the product
- Pairing: the pairing function is initiated via the Pair button.
- Drain pump fault.
- Every warning in a safety chapter, and none at the steps
- No model or version anywhere
- Organized by menus or parts. Readers look for what they want to do. “Descale the kettle” gets found; “Maintenance functions” doesn't.
- Several actions in one step. “Open Settings, choose Backup and set a time” is three steps, and readers lose their place in the middle.
- Steps with no result. Without “The light blinks blue”, the reader can't tell whether the step worked.
- One part, several names. “Power button” on page 4, “Start” on page 9. A short style guide keeps a long manual to one name for each thing.
- Old screenshots. The interface changed and the pictures didn't, so the manual now describes a different product.
Frequently asked questions
What is the difference between a user manual and a user guide?
Mostly the name. Both explain how to use a product, and the terms overlap: owner's manual is common for vehicles and appliances, while user guide and help are common for software. Some teams use guide for a shorter, task-focused document and manual for the complete reference, so check what your readers expect.
How do you write a user manual for software?
Write one task topic per goal: a heading with a verb, a sentence on when to do it, any prerequisites, numbered steps and the result. Tell the reader where before what, use the exact labels from the screen in bold, and add screenshots where the reader has to find something. Give administrators their own guide.
How long should a user manual be?
As long as the tasks require and no longer. A simple appliance may need a few pages; a complex machine or a large software product can need hundreds, split into separate guides for setup, daily use and administration. When a section grows long, check whether it holds tasks most readers never do, and move those to a reference section.