When to use it
- A new repository that needs a README before anyone else clones it
- An internal tool or service that colleagues keep asking you how to run
- An open-source library or command-line tool whose README is its front page on GitHub, GitLab or npm
- Handing a project over to a new maintainer or another team
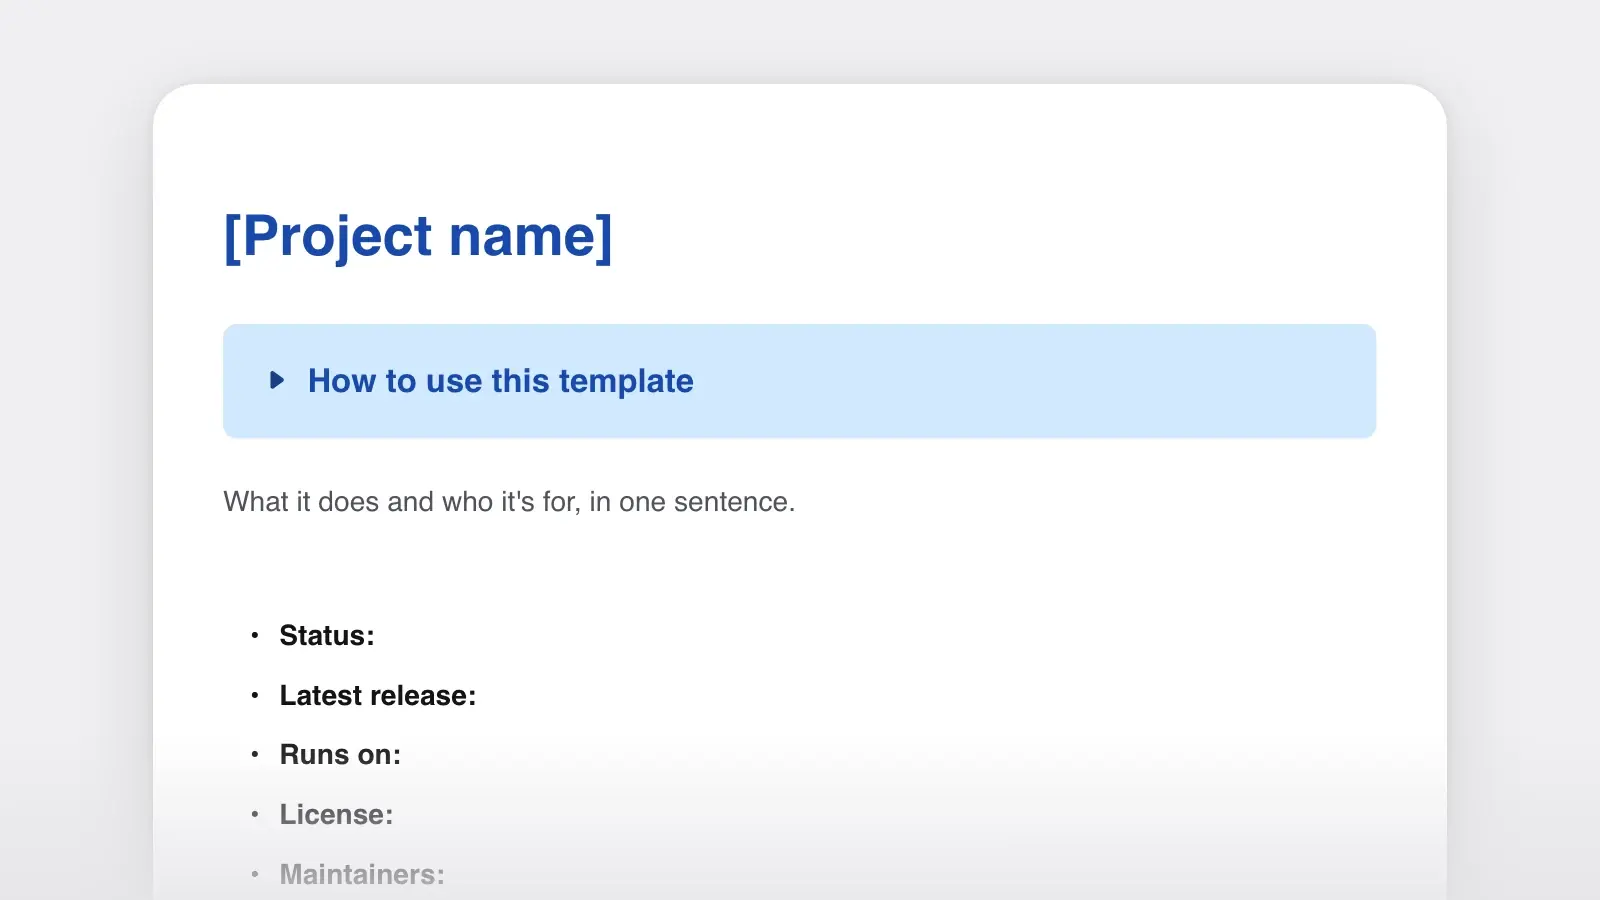
How to use this template
- Write the one-line description first
It sits directly under the project name and says what the project does in under 120 characters, the limit the Standard Readme specification sets for its short description. Reuse the same line as the repository and package description so the three never disagree. If the sentence will not come, the project's scope is unclear, and that is worth knowing before you write the rest.
- Test every command on a clean machine
Run the installation steps in a fresh container, a new user account or a colleague's laptop, and copy the commands from the terminal rather than from memory. Under each one, show what success looks like: the version number it prints or the line it ends with.
- Keep one working example
The quick start is the smallest thing that works end to end. Longer examples, edge cases and the full option list go in a docs folder, linked from the Documentation section.
- Cut what does not apply, then save it as README.md
A placeholder left in a README tells readers nobody looked. Delete the sections the project does not need, put the file in the repository root, and use relative links such as
docs/tutorial.md. GitHub resolves those on every branch, while absolute links may break in a clone.
What goes in the README, and what goes elsewhere
GitHub's own guidance lists five things a README usually covers: what the project does, why it is useful, how to get started, where to get help, and who maintains it. The rest has a better home in separate files. GitHub recognizes several of them by name. A CONTRIBUTING.md, for example, is linked whenever someone opens an issue or a pull request.
| File | What it holds | Written for |
|---|---|---|
FileREADME.md | What it holdsWhat it is, install, quick start, where to go next | Written forEveryone, on day one |
Filedocs/ | What it holdsTutorials, how-to guides, reference, explanation | Written forUsers who stayed |
FileCONTRIBUTING.md | What it holdsDevelopment setup, tests, pull request rules | Written forContributors |
FileCHANGELOG.md | What it holdsChanges per version, newest first | Written forAnyone upgrading |
FileSECURITY.md | What it holdsHow to report a vulnerability privately | Written forSecurity researchers |
FileLICENSE | What it holdsThe full license text | Written forAnyone reusing the code |
For the docs folder, the Diátaxis framework by Daniele Procida is a practical map. It sorts documentation by what the reader needs: tutorials teach a newcomer through a first project, how-to guides take a competent user through one task, reference states the facts (every command, option and error), and explanation covers the why. The template's Documentation section has a line for each of the first three. Explanation can come later, or live in your decision records. When the docs grow into a full manual with architecture and troubleshooting, the technical documentation template covers that layer, and the release notes template works as a changelog format.
A filled-in example
Here is the template filled in for a small command-line tool. The project is invented. Every command can be pasted as it is, and the quick start shows the output, so a reader knows whether it worked.
README.md (a fictional project)
# quillcheck

Checks Markdown manuscripts for broken links, missing images and duplicate headings.

- Status: active
- Latest release: 1.4.2, 2026-09-30
- Runs on: macOS, Windows, Linux
- License: MIT
- Maintainers: Ana Ruiz

## Overview

Long Markdown projects break quietly: a chapter gets renamed and three links point nowhere. quillcheck reads every .md file in a folder and reports each problem with its file and line number. It works offline and never changes your files.

- Finds links to files and headings that no longer exist
- Flags images whose files are missing
- Exits with code 1 when it finds a problem, so it can fail a CI job

## Requirements

- Node.js 20 or later

## Installation

```sh
npm install --global quillcheck
quillcheck --version
```

The second command prints the version, for example 1.4.2.

## Quick start

```sh
quillcheck ./manuscript
```

```text
chapters/03-harbor.md:41   link to #the-storm: no such heading
chapters/01-arrival.md:12  image images/map.png: file not found
2 problems in 18 files
```

## Configuration

| Setting | Default | What it does |
| --- | --- | --- |
| --ignore <glob> | none | Skips matching files |
| --external | off | Also checks web links (needs a connection) |

## Documentation

- [Tutorial: check your first project](docs/tutorial.md)
- [How to run quillcheck in CI](docs/how-to/ci.md)
- [Command reference](docs/reference.md)
- [Changelog](CHANGELOG.md)

## Getting help

Ask questions in Discussions. Report bugs as issues with your version, the command you ran and the full output. Report security problems privately, as described in [SECURITY.md](SECURITY.md).

## Contributing

Pull requests are welcome. [CONTRIBUTING.md](CONTRIBUTING.md) explains the setup, and npm test runs the suite.

## License

MIT © 2026 Ana Ruiz
What a good README does
Says what it is
- Checks Markdown manuscripts for broken links, missing images and duplicate headings.
- Status: maintenance only. New projects should use version 2.
Says nothing
- A blazing-fast, modern tool that supercharges your docs workflow.
- No status line, and the last commit was three years ago.
- Lead with use, not history. Why you started the project can wait until the end, or move to the docs. The first screen answers two questions: what is this, and how do I try it.
- State the status plainly. If the project is unmaintained or replaced, say so in the first lines, as the Make a README guide recommends, so nobody builds on it by mistake.
- Name the license precisely. Use its SPDX identifier (
MIT,Apache-2.0,GPL-3.0-or-later) and keep the full text inLICENSE. As choosealicense.com explains, code with no license is under exclusive copyright by default: people can read it but have no permission to use, change or share it. - Keep headings scannable. GitHub builds an outline menu from a README's headings, and the Standard Readme spec asks for a table of contents once a README passes 100 lines.
- Use one name for each thing. "Config file" or "settings file", not both. If several people write the docs, record those choices in a short style guide.
Frequently asked questions
What is the difference between a README and software documentation?
A README is the front page of a project's documentation, and for a small project it may be all of it. Larger projects keep tutorials, guides and reference in a docs folder or on a documentation site and use the README to point there. GitHub's guidance is that the README holds what people need to start using and contributing, with longer documentation elsewhere.
Does a README have to be in Markdown?
No. GitHub also renders reStructuredText, AsciiDoc, Org and a few other formats, and many Python projects use README.rst. Markdown is the usual choice because GitHub, GitLab, npm and most editors display it as formatted text. The Word download suits handover packs and reviews where people comment in Word. Move the final text into README.md when it is done.
How long should a README be?
Long enough to take a new user from nothing to one working example. If it runs past a few screens, move reference material and long examples into the docs folder and link to them. GitHub truncates a rendered README after 500 KiB, but readers give up long before that.
Where should the README file go?
In the repository root, named README.md. GitHub also finds one in a .github or docs folder. If there are several, it shows the one in .github first, then the root, then docs.